
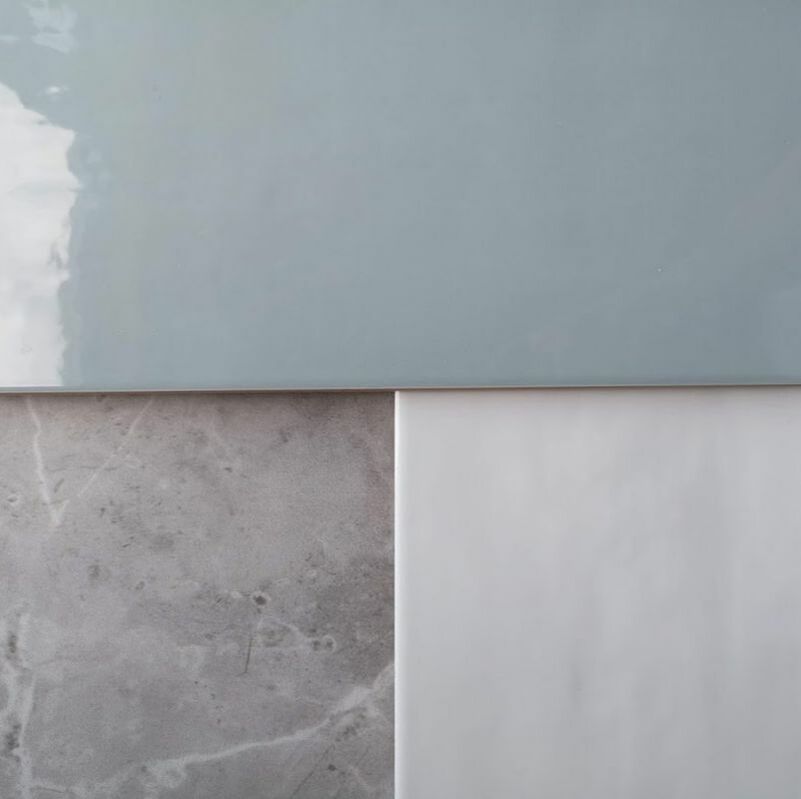
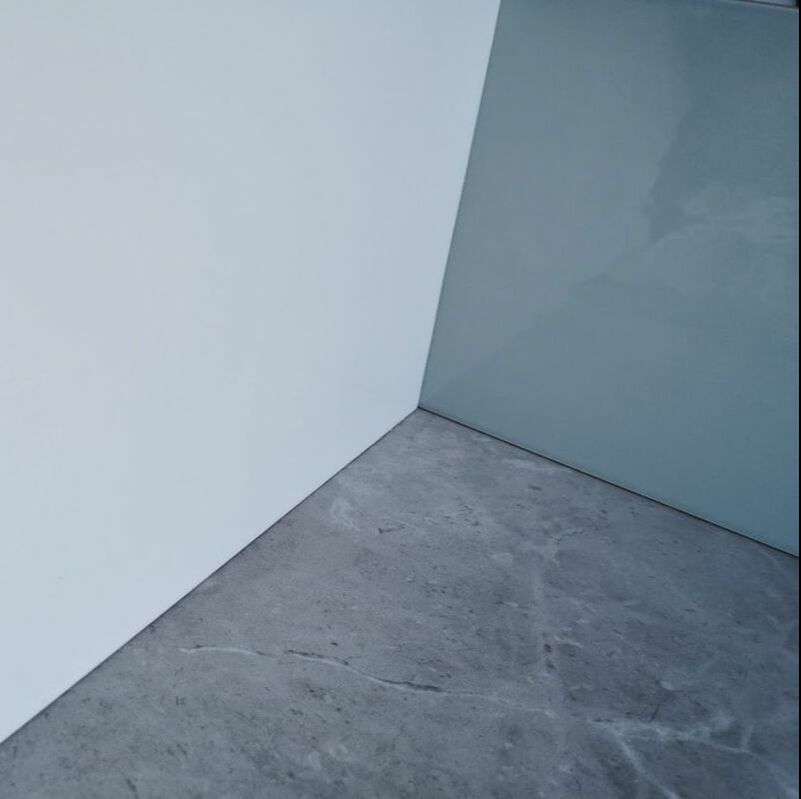
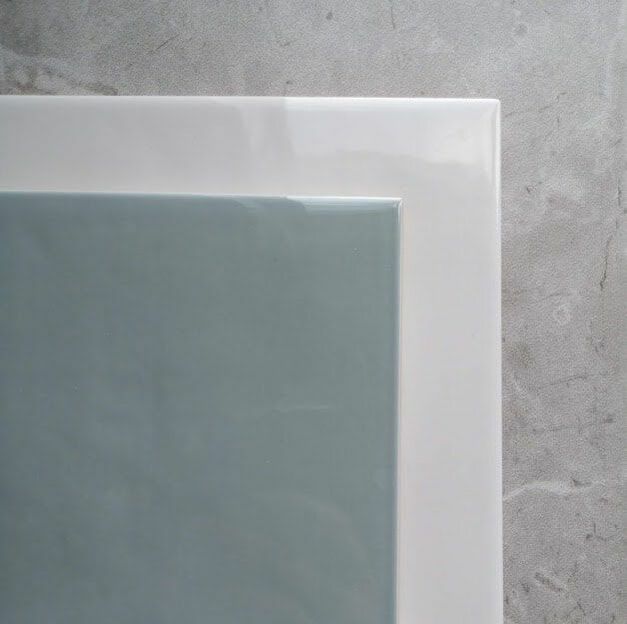
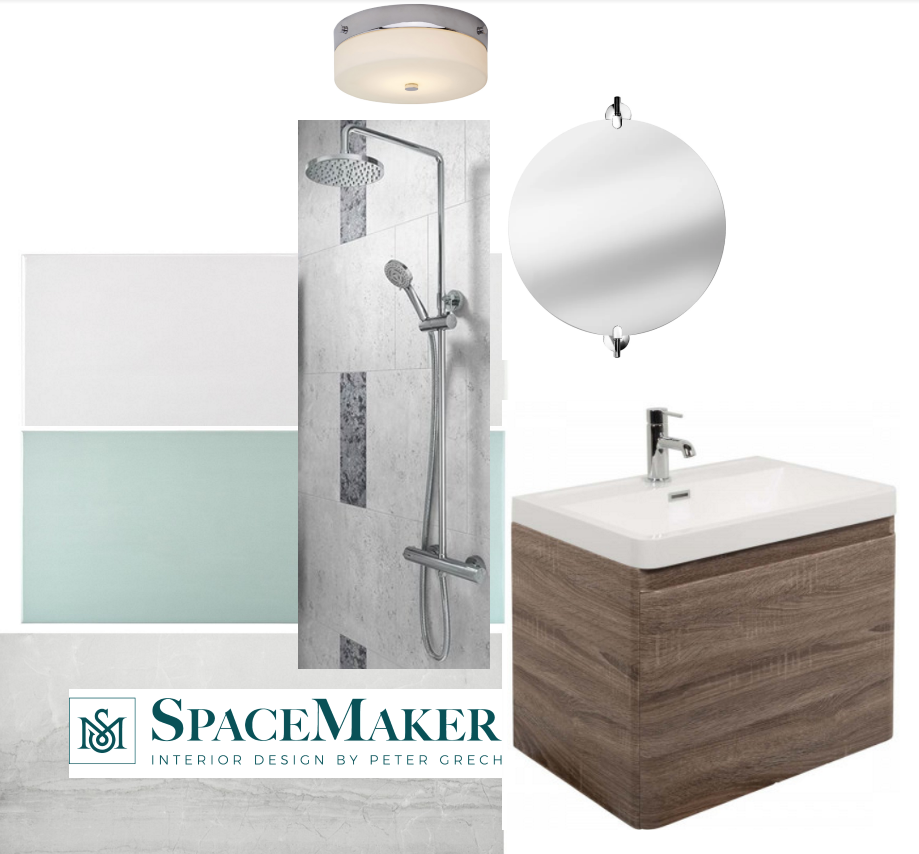
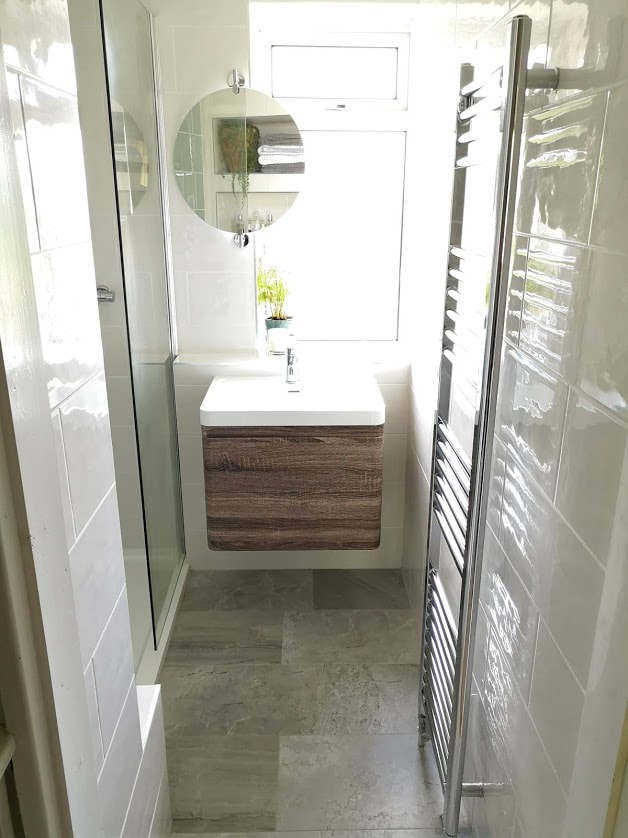
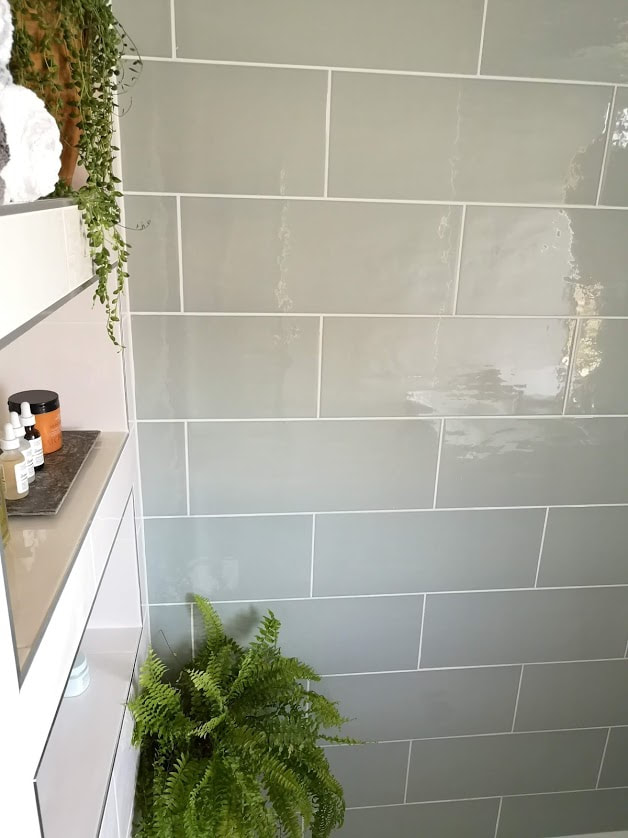
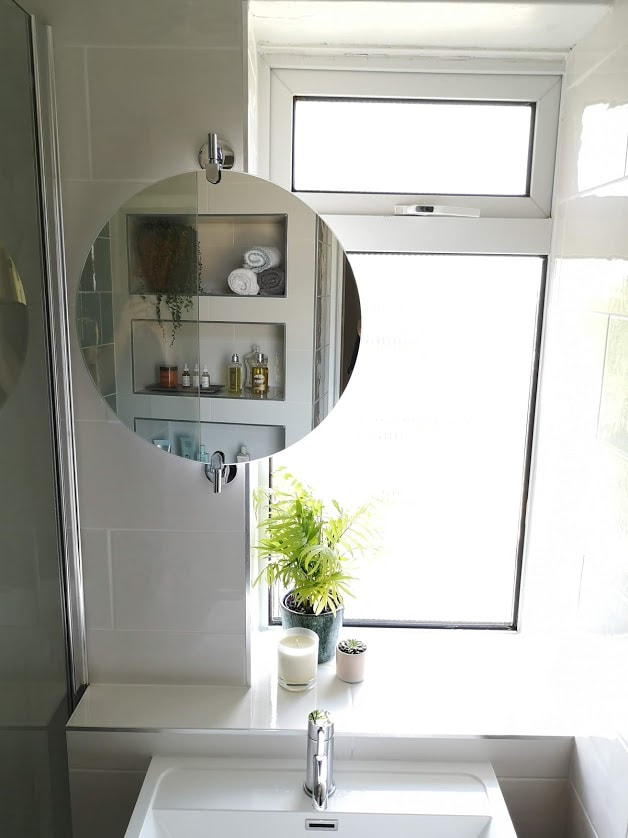
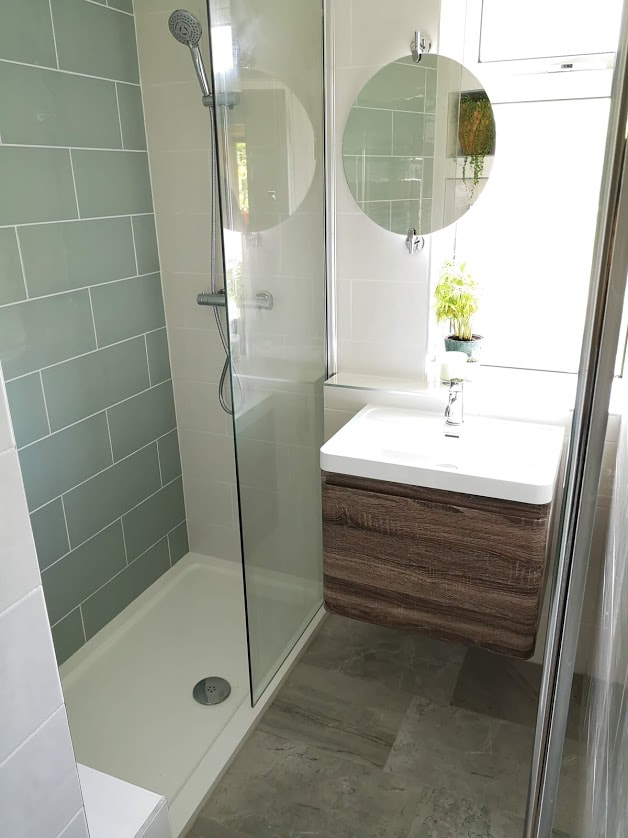
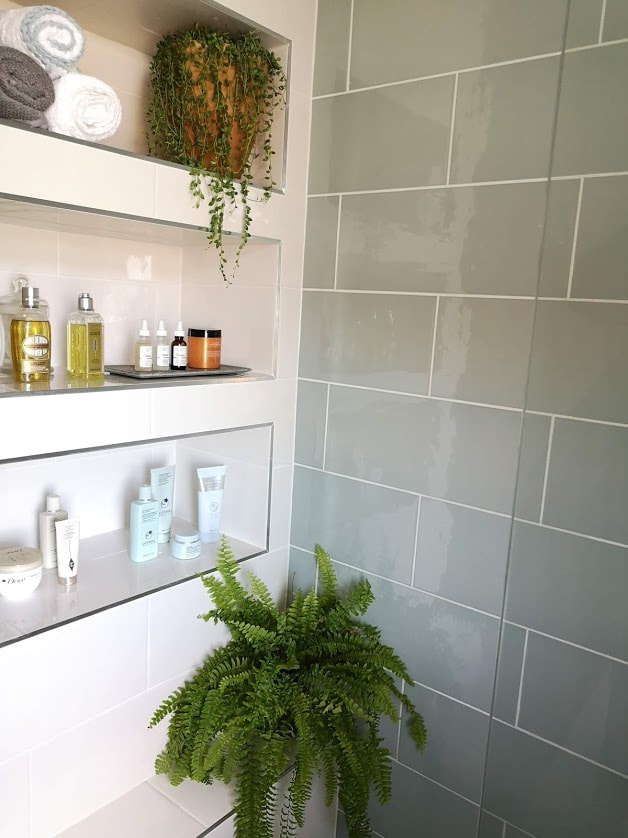
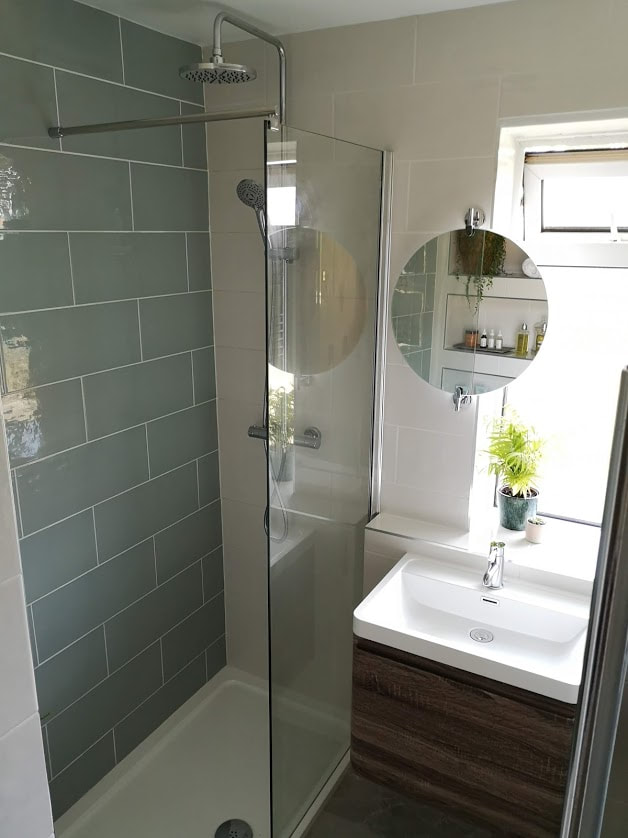
Next we went tile shopping! This was the exciting part of the process as we went to our local Topps Tiles showroom and picked out three tiles that we loved the most. It was so easy to place them next to each other and be sure that they all worked harmoniously with our scheme. For the floor tile we went for the Variato Tile, which is a porcelain tile which has a natural stone look. The other two tiles we used were both from the Wild Blossom collection. We used the plain tiles in two colourways, the Milk tile and the Sea Grass tile. The milk tile has a soft, off-white colour, and the sea grass is a muted or greyed/sage green, both with a very subtle ripple finish. We chose the green tile as a feature tile across the shower wall to create another interesting feature for you to look at and discover while within the space. It isn't overwhelming despite being a large wall due to its mellow colouring and being the same size as the other wall tiles.
I always recommend buying a sample so you can refer back to it at a later stage when developing your scheme and also to look at it within the light context that you will be placing the tile. Here you can see how the colours, despite being the same 3 tiles, can look different in different lighting conditions. We also included more storage by changing the pedestal sink into a vanity unit that has a hidden drawer and a full drawer. The front of the sink is clad in a wood veneer which injects a warm and natural element into the space that would otherwise have mainly hard surfaces and cool colours.
4 Comments
After prying myself away I strolled past the interior design studio of the infamous Martin Brudnizki (He is the designer behind some of the iconic interiors of The Ivy, Annabel's in Mayfair, Pink Mammas in Paris). As you can imagine I found it incredibly difficult not to get completely overwhelmed and chain myself to the studio gates till they offered me a job, but I moved on! 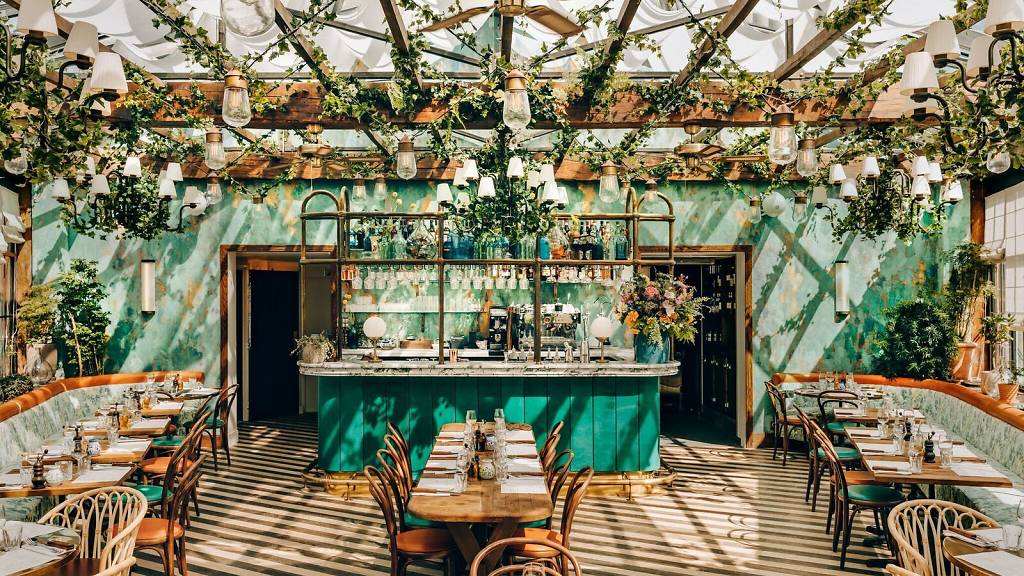
I next went to Silvera, an old silver vaults that now houses incredible high end and beautiful pieces of furniture! Have a look below. 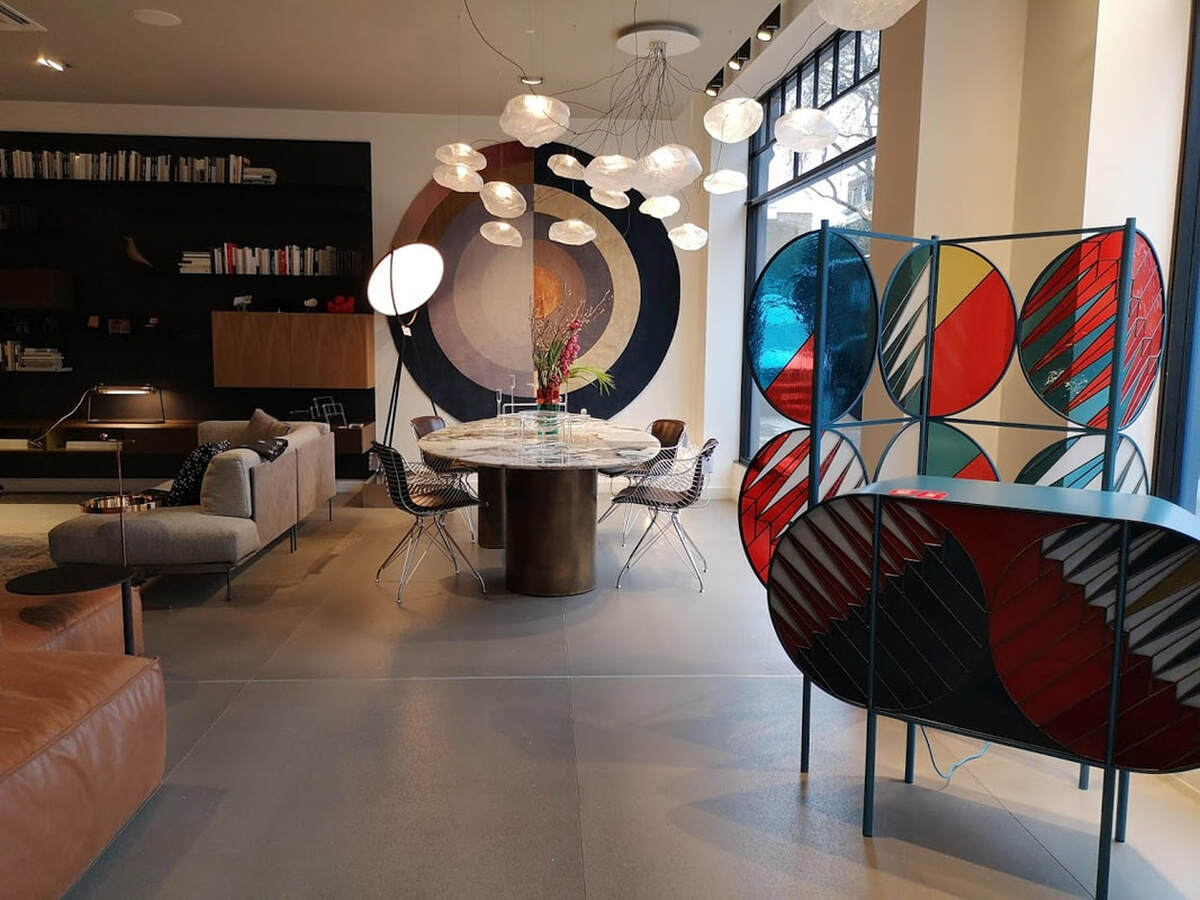
I kept on walking down to Sloane Square where I was summoned by Sandra from the Idle Hands and got to meet up with her and some other lovelies from the interiors Instagram world over at the Charlotte Street Hotel in Fitztrovia - so on a tube I hopped! 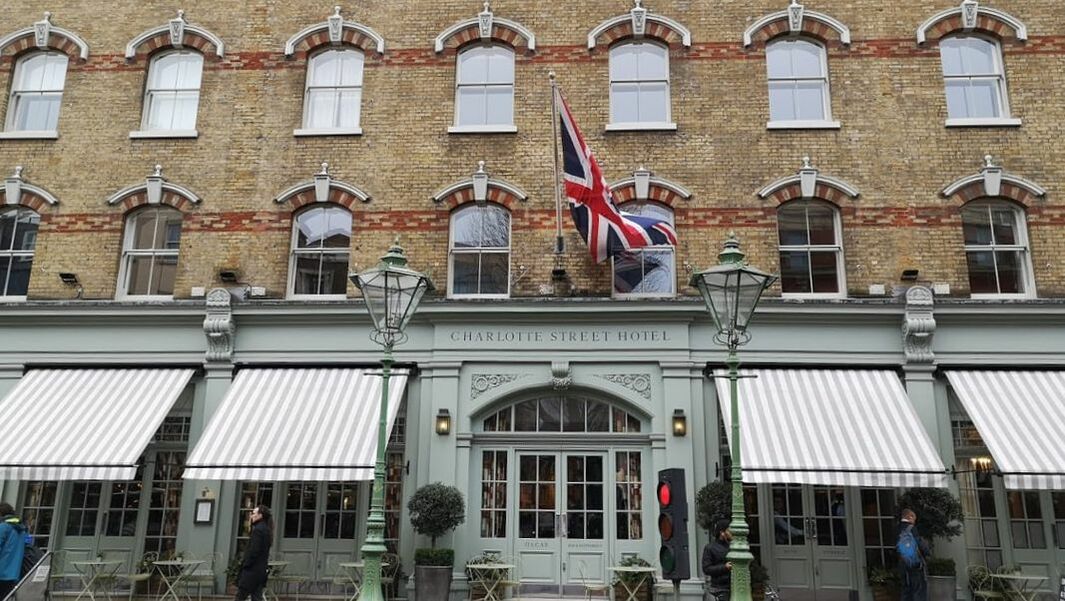
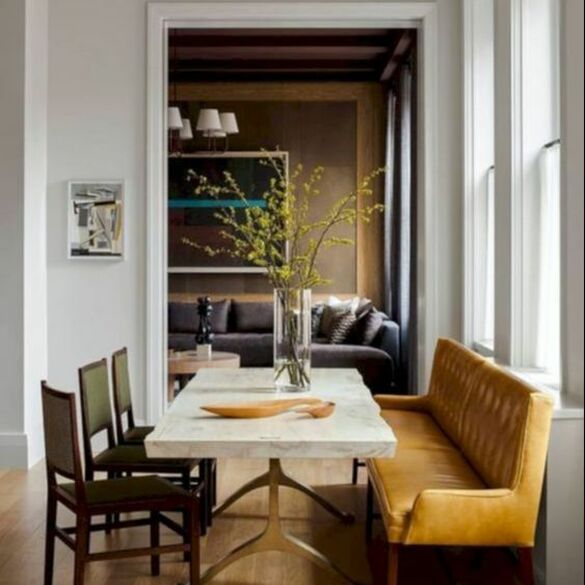
The value I give to my clients as a designer includes a dedicated and well thought out scheme from beginning to end, with all aspects considered for the process ahead.This is including lighting, heating, furniture layouts that work for different times of the day and uses of the space, storage, aesthetic cohesion and detail. I draw inspiration from the clients and what they require and dream of the space before we embark on the journey as it allows me to create a more bespoke space and a place that they truly feel nested in.
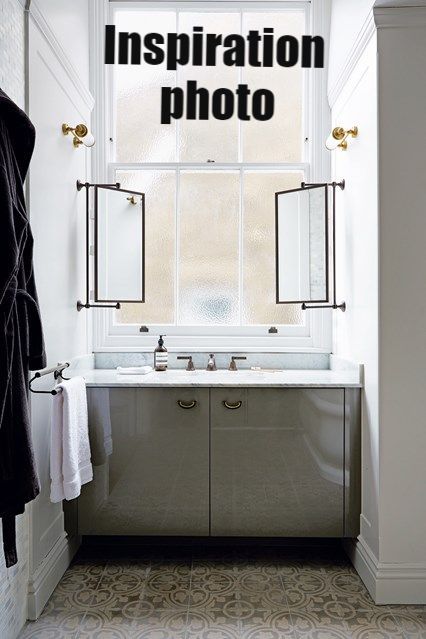
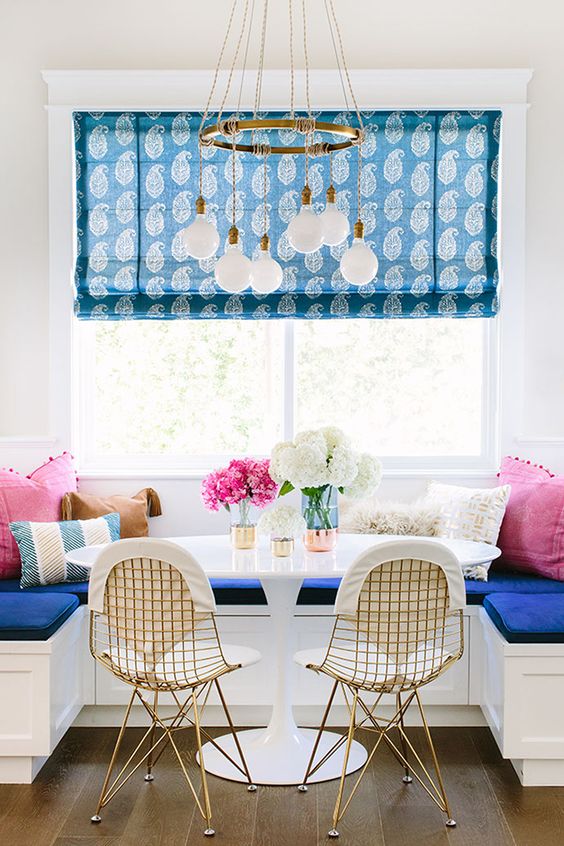
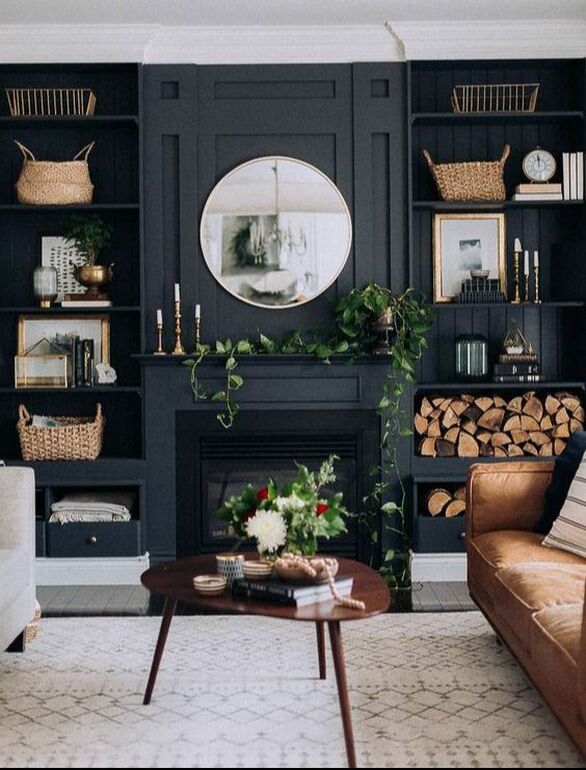
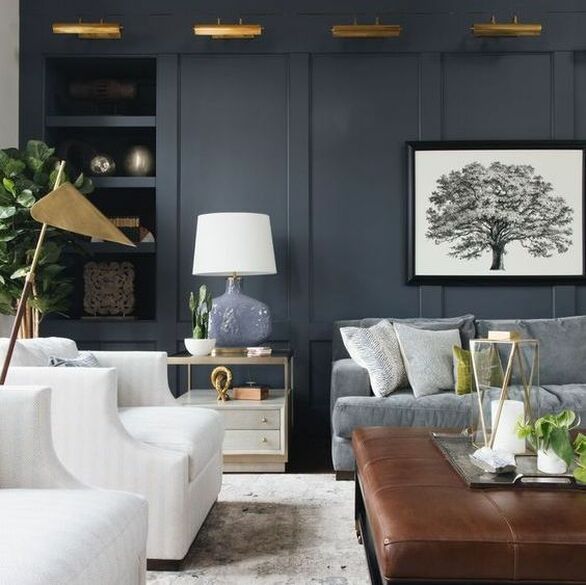
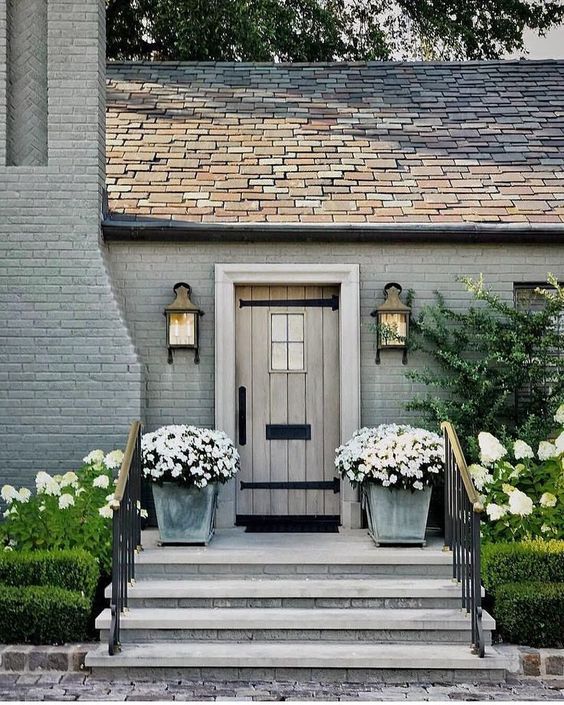
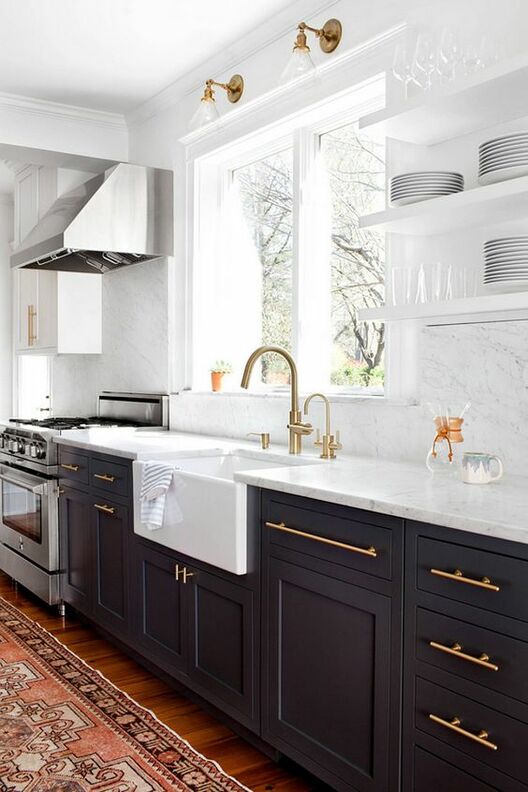
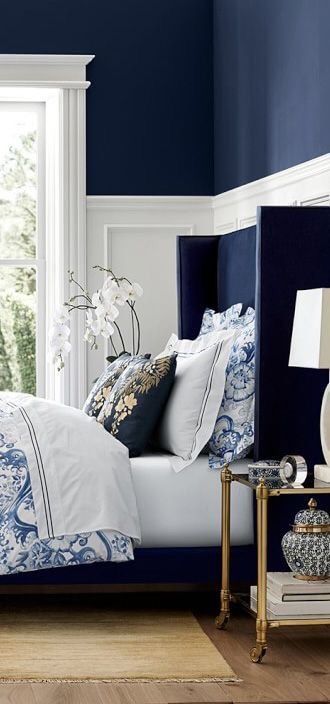
These images used above are not of my own work, but inspiration images I used on clients mood boards.
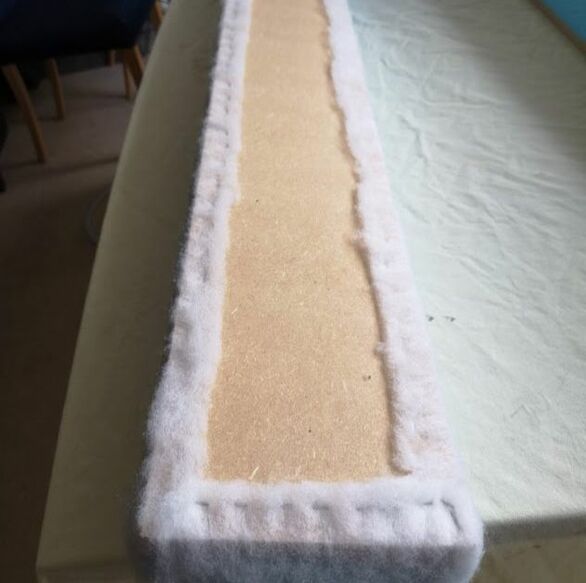
Step 2 - Glue on the foam to the wood planks. We used spray adhesive and then gently lowered the long piece of foam onto the plank of wood. Its useful to have two people when doing this to hold the foam up and you will need to work quickly as the spray adhesive dries quickly.
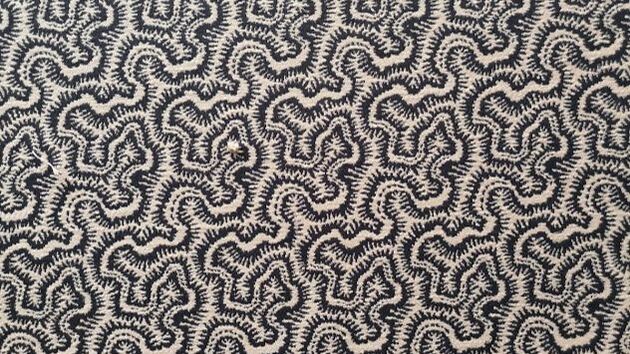
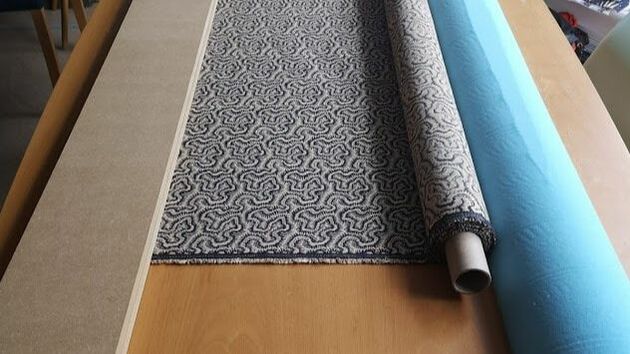
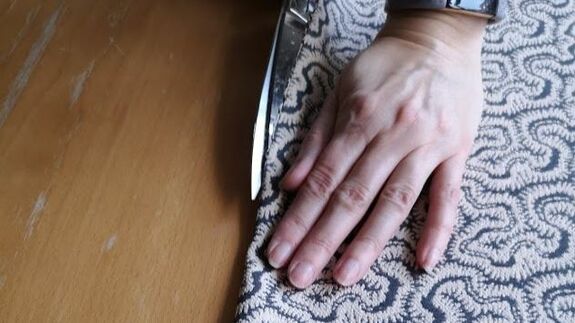
Step 3 - Apply the wadding and staple in place. Try and place the staples in a straight line and make sure that the overlap isnt too large as you will need to cover the wadding with the fabric ideally.
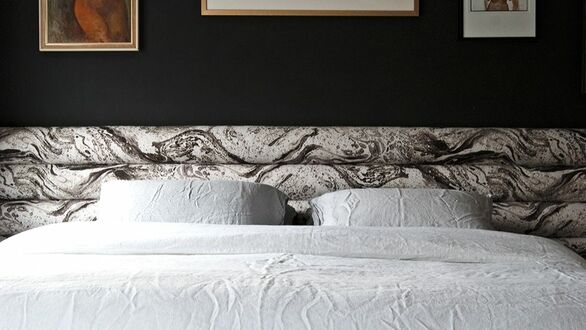
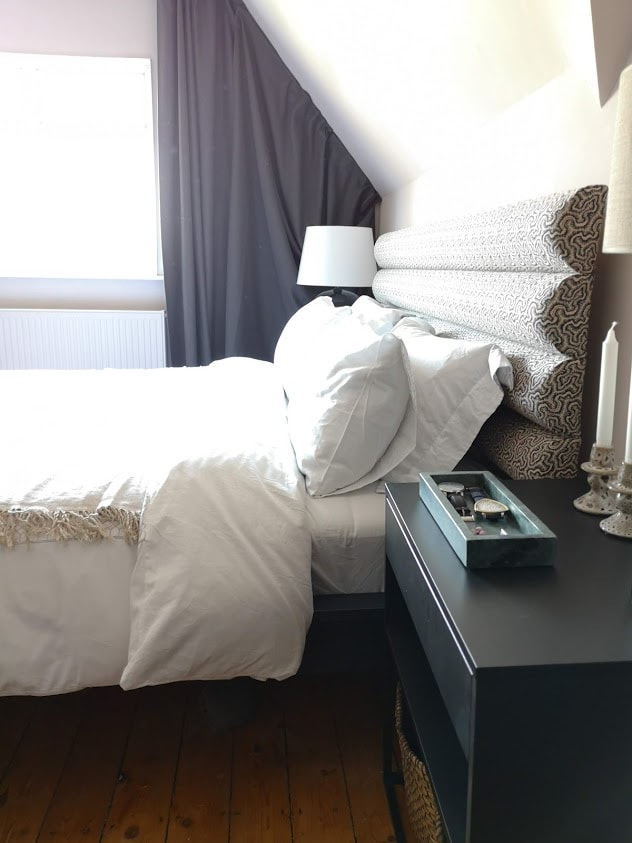
Step 6 - Creating one headboard Fix all 4 upholstered semi-circular pieces together using a bracket. I couldn't find a bracket long enough in my local hardware store so I got multiple shorter ones which I used to attach the boards together.  Step 7 - Hanging the headboard Fix the headboard to the bed or to the wall. I initially used a French cleat but our walls are as soft as cheese so this couldn't take the weight so I ended up fixing it directly to the base bed using some back supports. 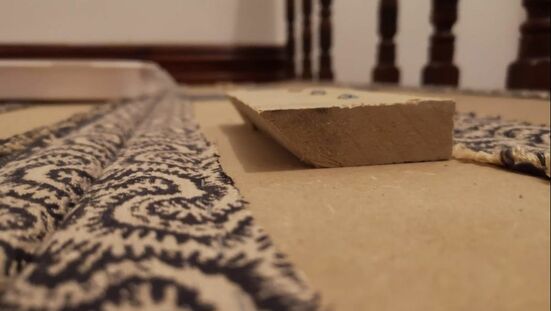 Step 8 - Enjoy!  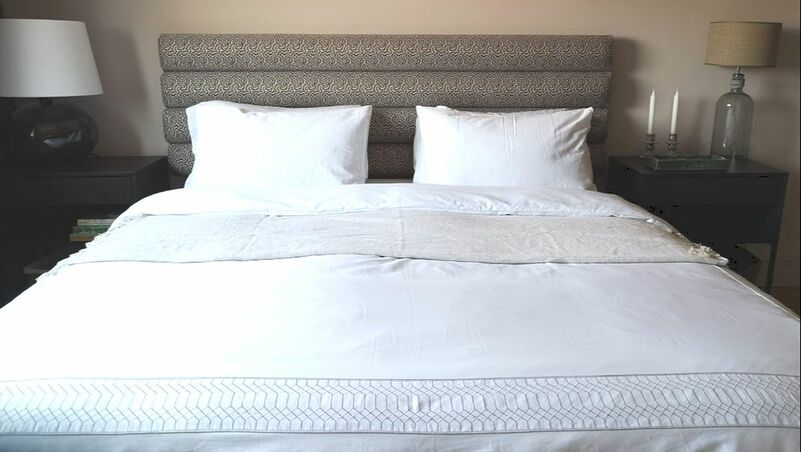 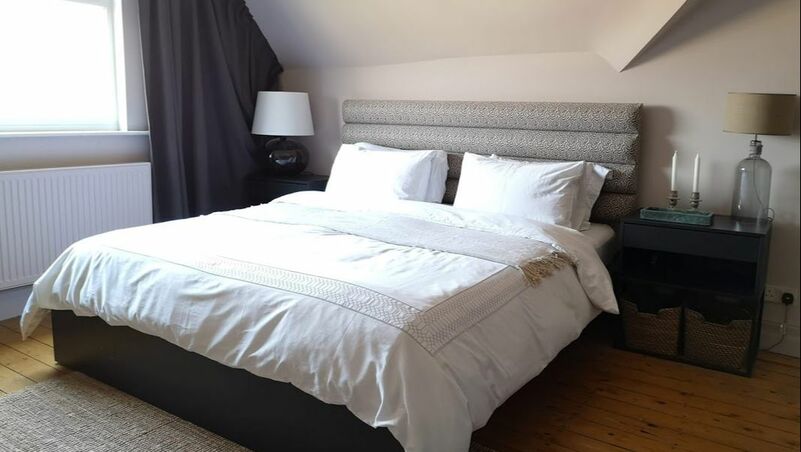 
Step 1: Take photos of the meter readings - This is boring but important for when you finally get down to setting up your move in accounts with your gas, water and electric people. You wont need to set up these accounts super urgently, but having these meter readings photographed on your move in date will save you the worry and hassle at a later date
If you achieve these basic 5 steps on day 1 or 2 of moving into your new home, you are winning at life. Let me know if these tips work for you!
|
Categories
All
|


 RSS Feed

|
|

|

|
|

|
|
|
Award winning Interior Design & Styling - Cheshire, UK
Copyright © 2022