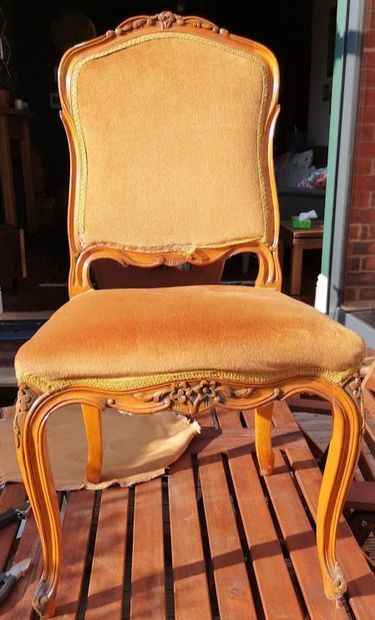
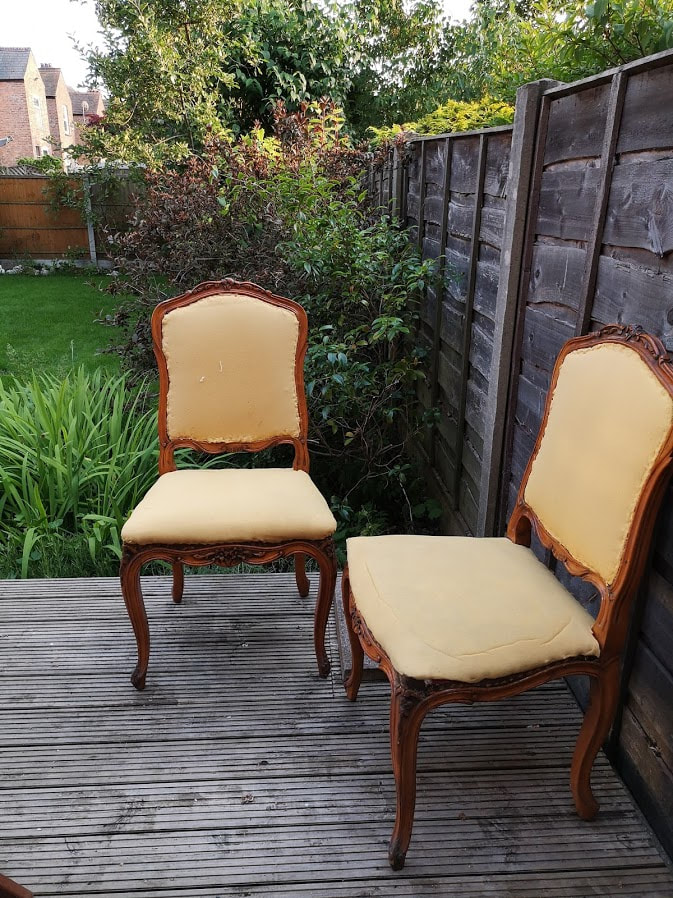
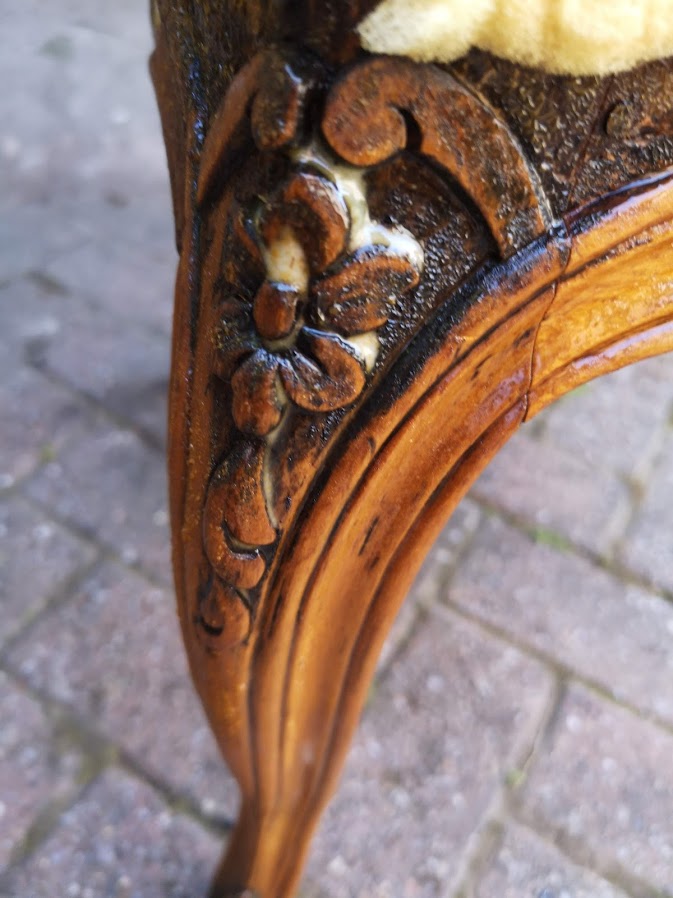
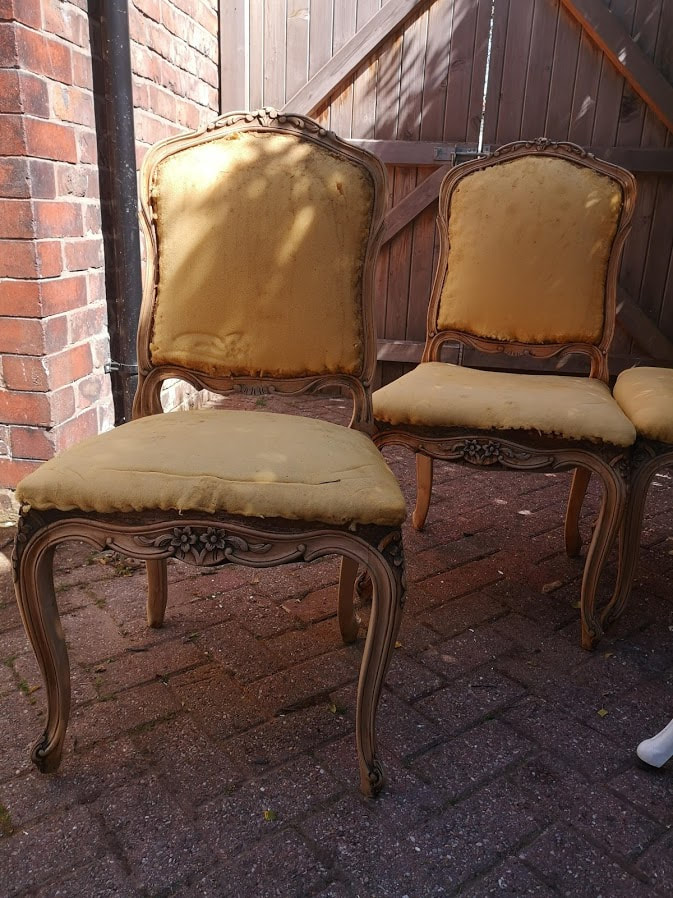
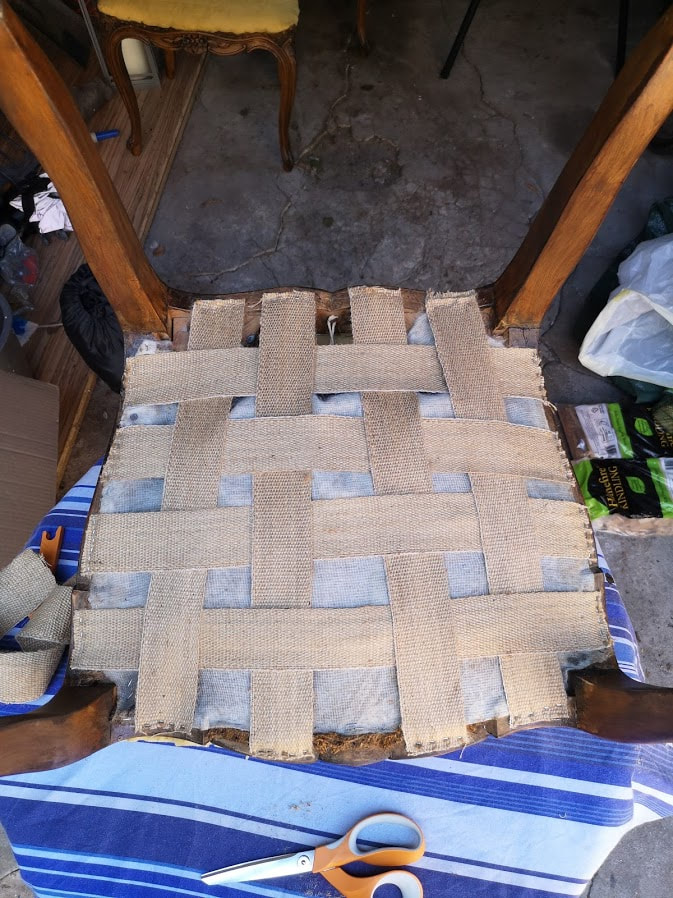
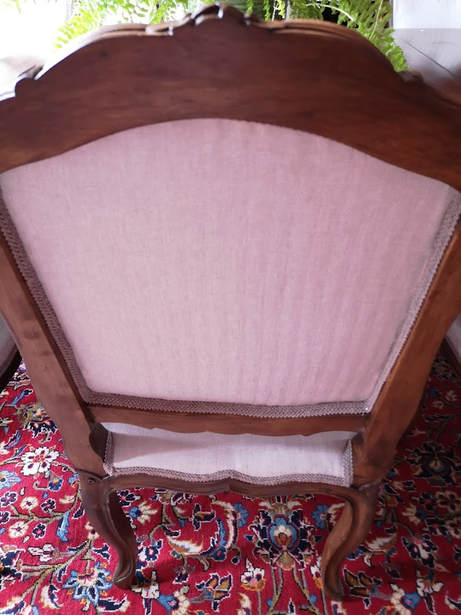
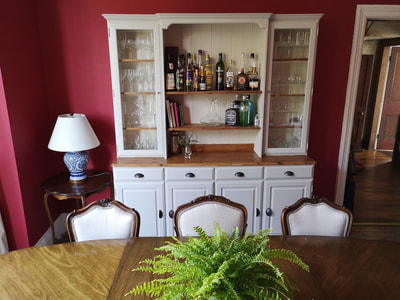
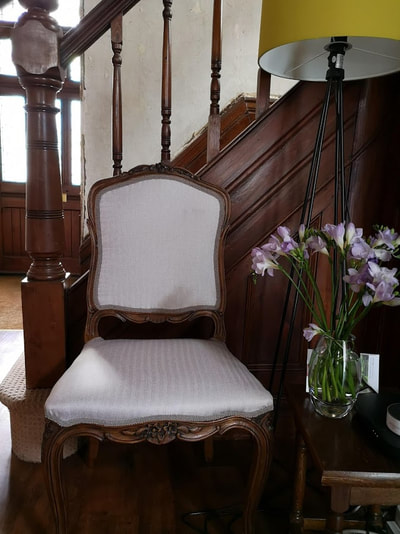
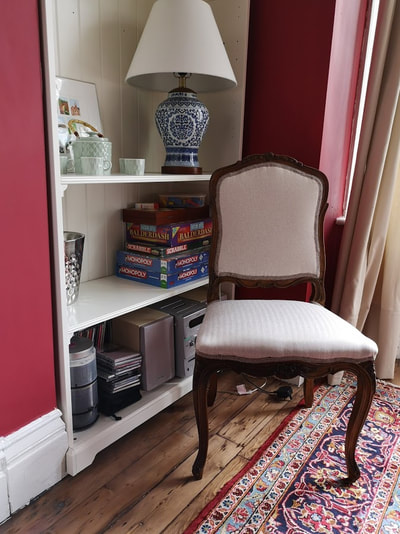
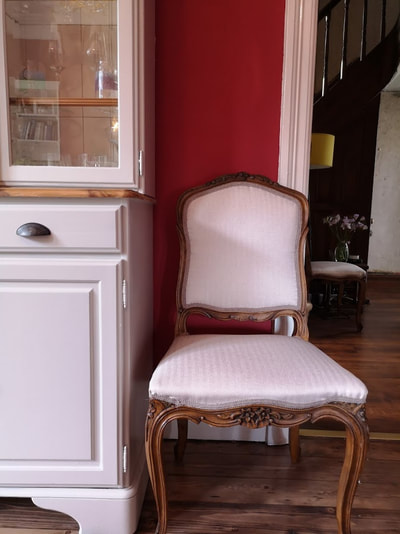
 I bought this one below. Not because I had done a lot of research or becasue it was the cheapest, but I was ready to get started and didnt want to wait for an online purchase to be delivered. This is not an ad or an affiliate job. Just an honest statement of what I used. 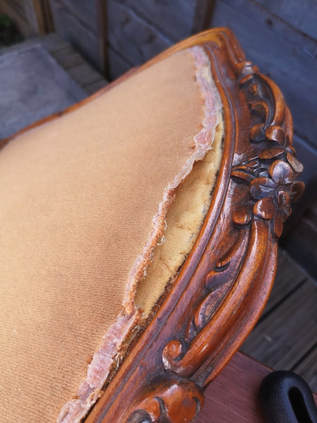 So once I had the correct tool I was ready to start. Step 2: RIP IT OFF First I pulled off the old trimming which seemed to have been held down with three buckets worth of glue! And once that was off I could get started on the slow and slightly tedious process of removing the staples (which is why the tool above was needed). Remember to go all the way around. And I tried not to be too hard with the frame of the chair as I was going to leave it unpainted but they can take more than you imagine. Once you have removed the back and the seat off the chair they should look something similar to the next picture where the foam or wadding is exposed. The foam in this set of chairs was in quite good state so I didn't need to do much. The previous set of chairs were older and had more uneven bits that needed smoothing out. Step 3: STRIP! The varnish on these chairs was very orange quite frankly made them look cheap and very dated as opposed to the classic look I was after. So trip to Screwfix and I got some of their no-nonsense varnish stripper and it worked a treat. I applied two coats of it on the chairs and it started bubbling up a treat! The difficulty I found in the previous chairs I did was getting it off. the instructions tell you to scrape it off but because of all the intricate wood carvings it is quite difficult to actually get into the crevices. And when I had used steel wool it got all stuck in the treacly messy disaster and was real difficult to get. I used a wire brush on my first set of chairs but this got totally ruined in the process and also was quite harsh on the wood of the chairs. This time I opted for a slightly different approach. I used warm water and steel wool. This combination was golden! The water loosened the thick gooey melted paint and the steel wool helped to provide that slightly abrasive edge I needed to get to the harder to reach bits. The water also helped me rinse the chairs off after so and bits of steel wool that had gotten stuck on were easily washed away. I don't know why I didn't do this previously. It worked so well. Also as the weather has been so tropical the chairs dried super quickly. Step 4: Apply fake tan So as our dining table is walnut and the other chairs I've also done up in the same way I kept with the Walnut stain. I had bought a big tin of it when I started the project so Just used the same tin. As it was so hot, I just had to be careful as the wood was hungry for the stain, so as soon as its applied any drips needed to be wiped down otherwise they would leave trail marks. I quite liked the natural colour of the chairs and in a different room I would have just waxed them down but the wallnut colour was vital to help the whole room tie together. Step 5: Repair the war wounds So I guess you could do this before the above step, and it would probably be a good idea, but I needed to do only a few repairs. One of the chairs was damaged and the whole wadding support underneath had been torn and you would basically fall through the chair if you tried sitting on it as it was. So I had to support it again by fixing a waffle pattern of supports on the under surface. This wasnt particularly hard to do but make sure to keep it as tight as possible before you do staple it in as there is no use for lose support! I bought a pneumatic nail gun last year to do the other chairs and it is a dream to use as I know the nails/staples are in tight and I can use it for multiple projects (as evidenced here!) 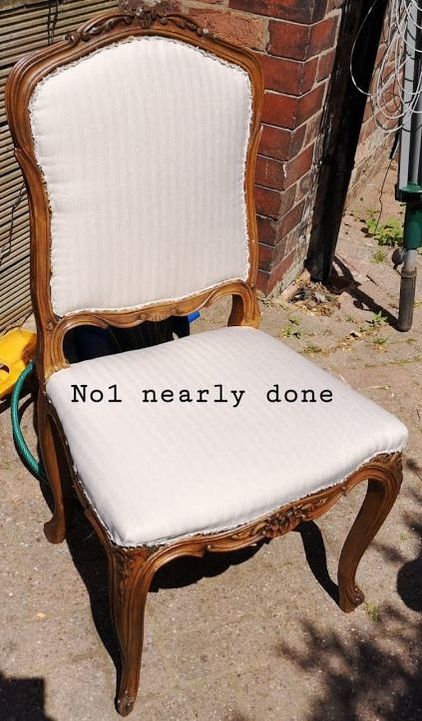 ItsStep 6: Snip Snip I used the bits of fabric that I removed from these chairs as the templates to cut out the new pieces for the chairs. Annoyingly only after I had cut ALL the pieces did I realise that it was slightly short on one aspect and I never realised this when it was fitted to the chair. Therefore I would suggest DEFINITELY checking the template first and maybe even checking the first cut piece of fabric. This time I didn't make the glaring error of cutting the fabric in the wrong direction! The fabric I used has a slight herringbone pattern on it, therefore it is vital that the all the pieces are cut in the same direction (Vertical in my case). In the last set of chairs I had a few cuttings in horizontal, those were binned. As you can tell there are numerous errors that can be encountered at any stage and I guess reading up on the process before can prepare you, but you only really learn by trying. Step 7: Fitting the fabric (like putting on that pair of jeans which is just a bit too snug!) So I still remember the first video tutorial that I watched about upholstery, and it thought me a vital thing. After checking that the fabric fits comfortable and is in the right position to cover ad be aligned; always do a few anchor staples in the north, south, east, west positions and then do the rest without overstretching as you will end up sort somewhere. Theres a video of this on my Instagram stories. Its important to try and be as neat as possible when stapling the fabric, misaligned staples can be a bugger to hide later and the fabric can show your sins if you over stretch or under stretch it. Just a quick note about the back of these chairs. I cheated slightly as I didn't remove the mustard fabric from the back because to do that I would have had to remove all the foam and wadding in the backs of the chairs. I probably should have done that but I got around it by fitting the fabric over it and applying the trim to the inside of the frame. Step 8: Applying trim (like finishing off an outfit with the perfect accessory) For this bit you need the glue gun and teflon hands. I always start off centre somewhere not as conspicuous. I used gimp braid for a traditional look. And basically you apply the glue to the chair and fix down the trim over the staples and edge of the fabric. Remember to trim off any excessively fluffy or furry ends of the fabric first as it will create a neater look. Et Voila! Done! Here are some snaps of the chairs, and also how they sit next to the previous set I had done. Here is the link to my previous post and if you head over to my Instagram there is a stories highlight called upholstery where there are snaps of the whole process and some mumbling by myself!
Hope you liked this. Please leave a comment below or on my instagram. Lots of love P xoxo
1 Comment
|
Categories
All
|
Award winning Interior Design & Styling - Cheshire, UK
Copyright © 2022

 RSS Feed


