
|
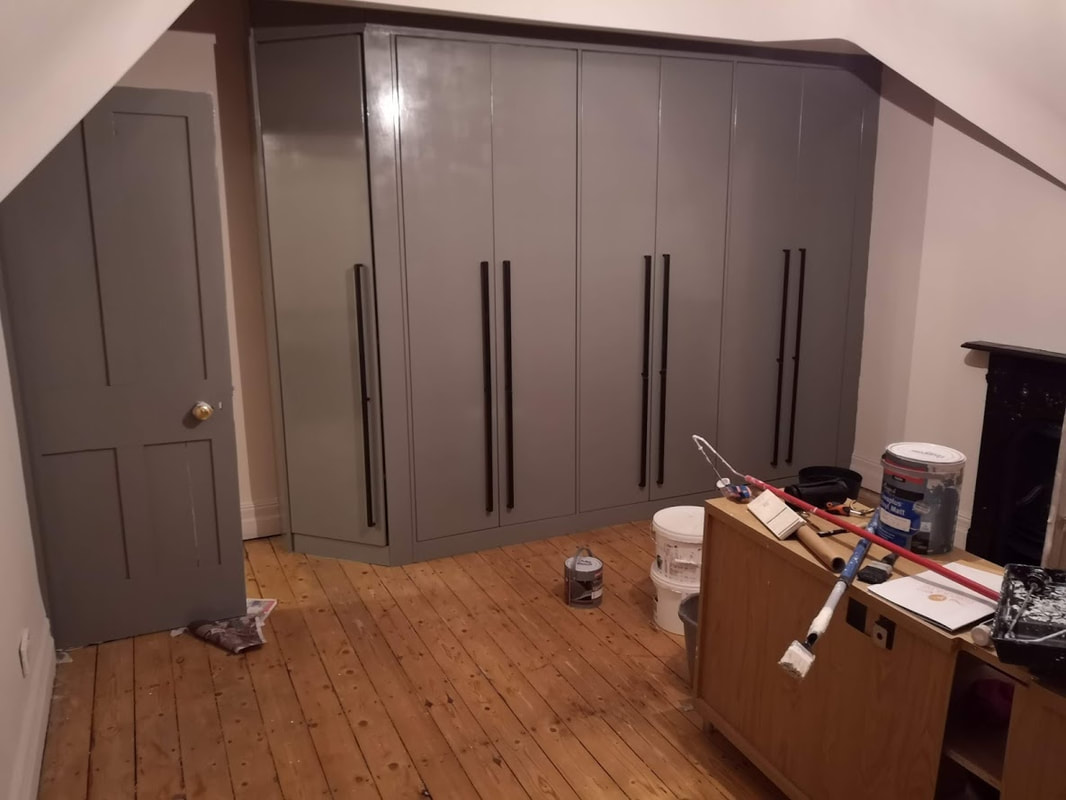
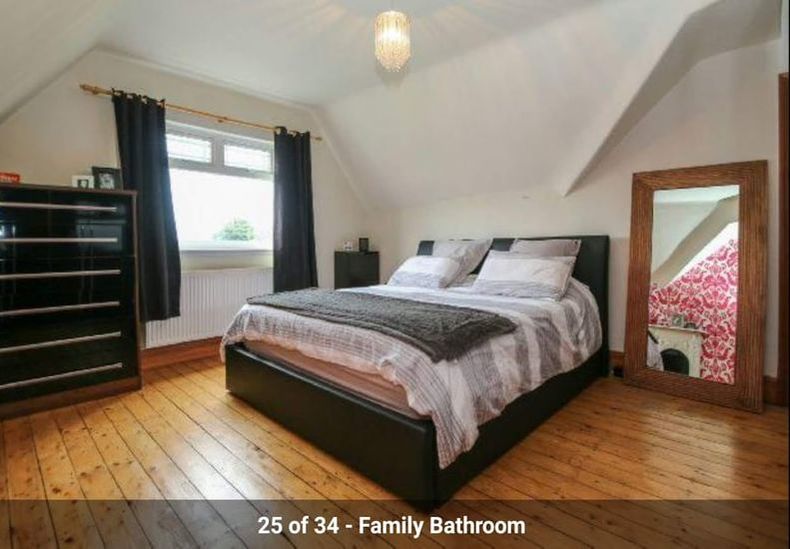
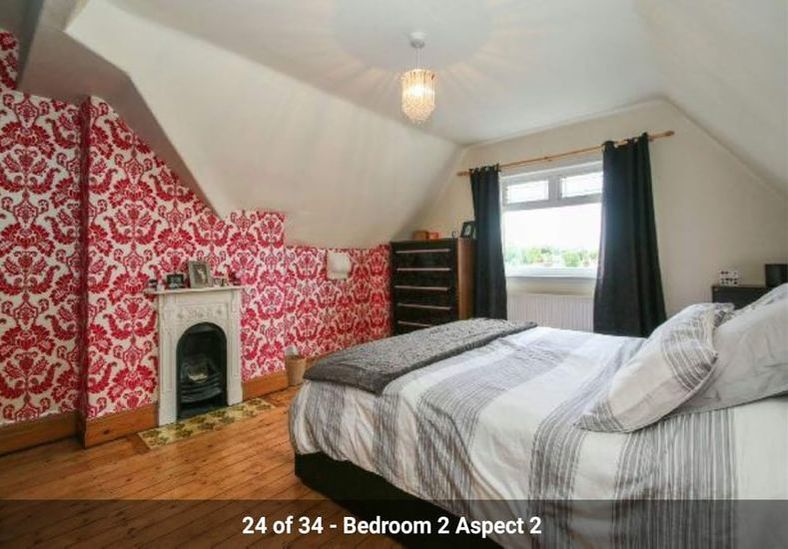
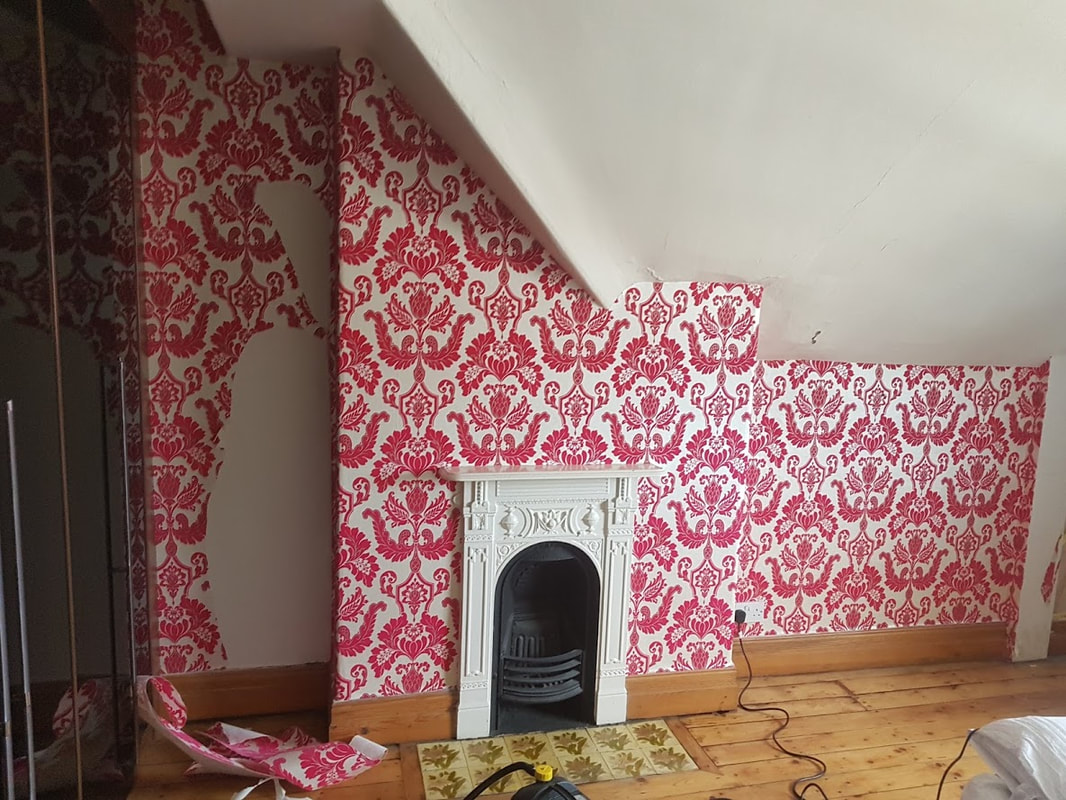
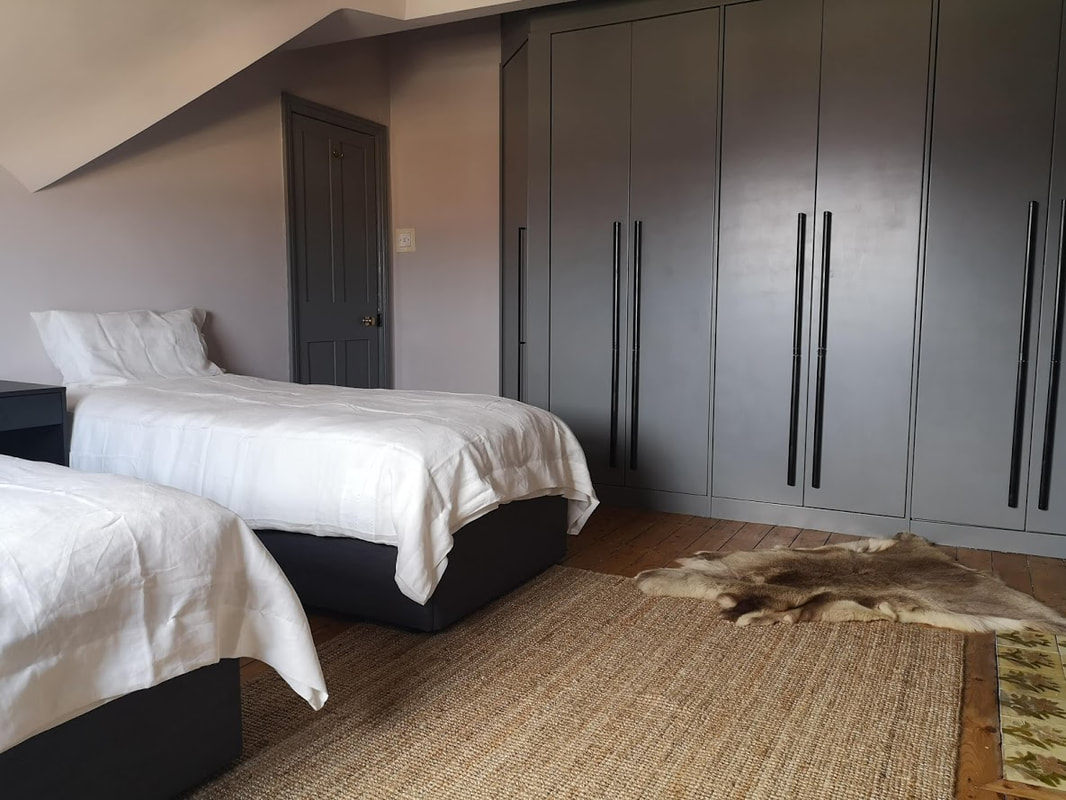
Hey folks, I realise its been way too long since I last posted but if you have been keeping up to date with my Instagram we have been working really hard at finishing off the attic bedroom which is now nearly complete. This is the biggest bedroom in the house and we stayed in it for the first few months and had it re-plastered over the summer which meant its been ready for a makeover for a while but we distracted by the staircase (see my previous post), but now we finally did it. My design process with this room is that I wanted to create something calming and serene at the top of the house, somewhere to escape to. We wanted this room to be versatile as a guest bedroom with two twin beds that can be joined up to make a super king sized bed. We also wanted the design to be warm and modern but still layered, characterful and cosy. It posed its own challenges which I shall discuss below but here are a few before photos. The first two are the estate agents photos, and the panorama shot is when we moved in.
 I think its safe to say that I absolutely hated this room. I hated the migraine inducing wallpaper in a velvety damask and bright pink/red. I hated the black high gloss wardrobe fronts and I hated the cracked plaster work. It was not a very relaxing room but we stayed in it as it had built in wardrobes and good storage. I'm still surprised that I didn't at least paint over that awful wallpaper which caused me such upset. Once we moved out of this room we got our revenge though.
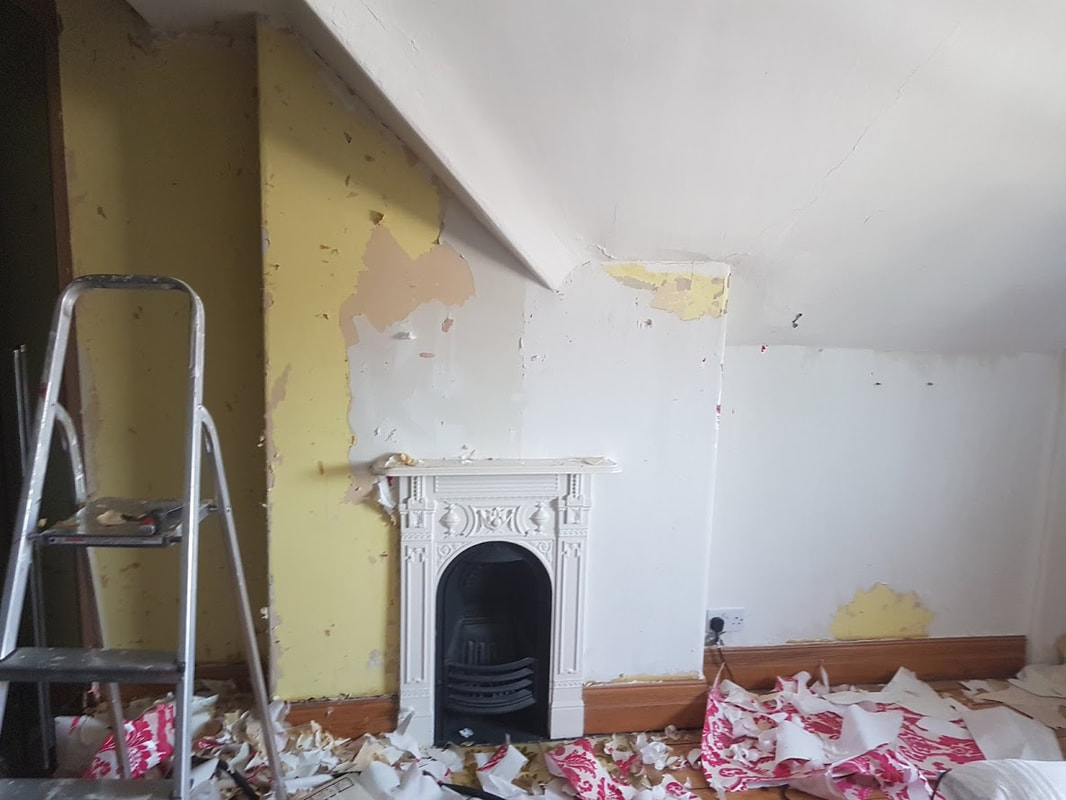
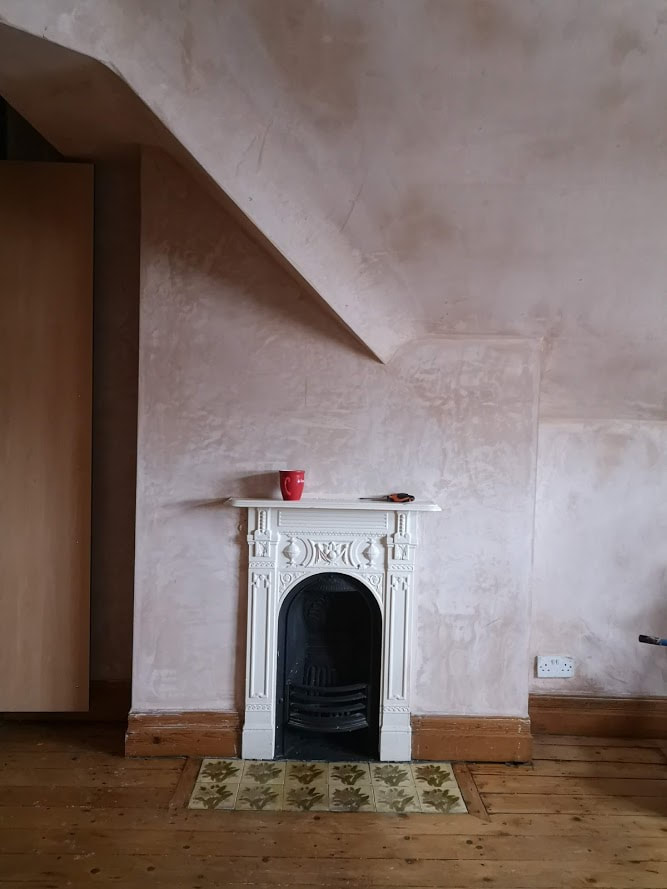
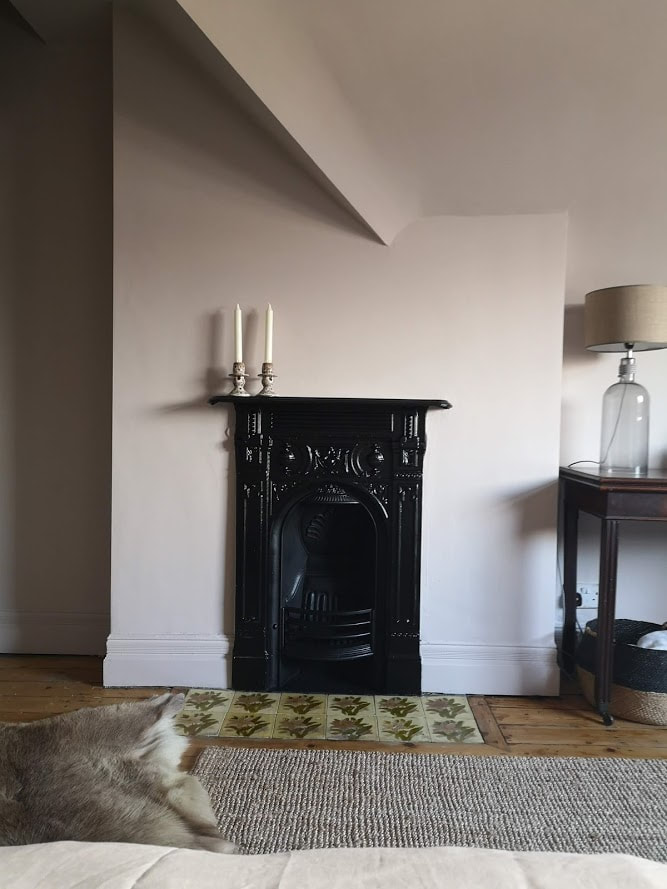
Ripping off that wallpaper (and the 4 layers of paper below it) was so satisfying. From the pictures above you can already see how much more calming that room became without a wall screaming out at you. The other thing that struck me about this room is the lines. So many lines! The pitch of the ceiling, the joists, the chimney breasts, all at different slants to each other joined with a combination of sharp angles and soft curves. Our plasterer got to work on this room, and its fair to say that he did not enjoy it at all and one day once he finished I found him sat down looking particularly broken and said that he was going to retire as he didn't enjoy these complex projects any more!!!! oopsie!
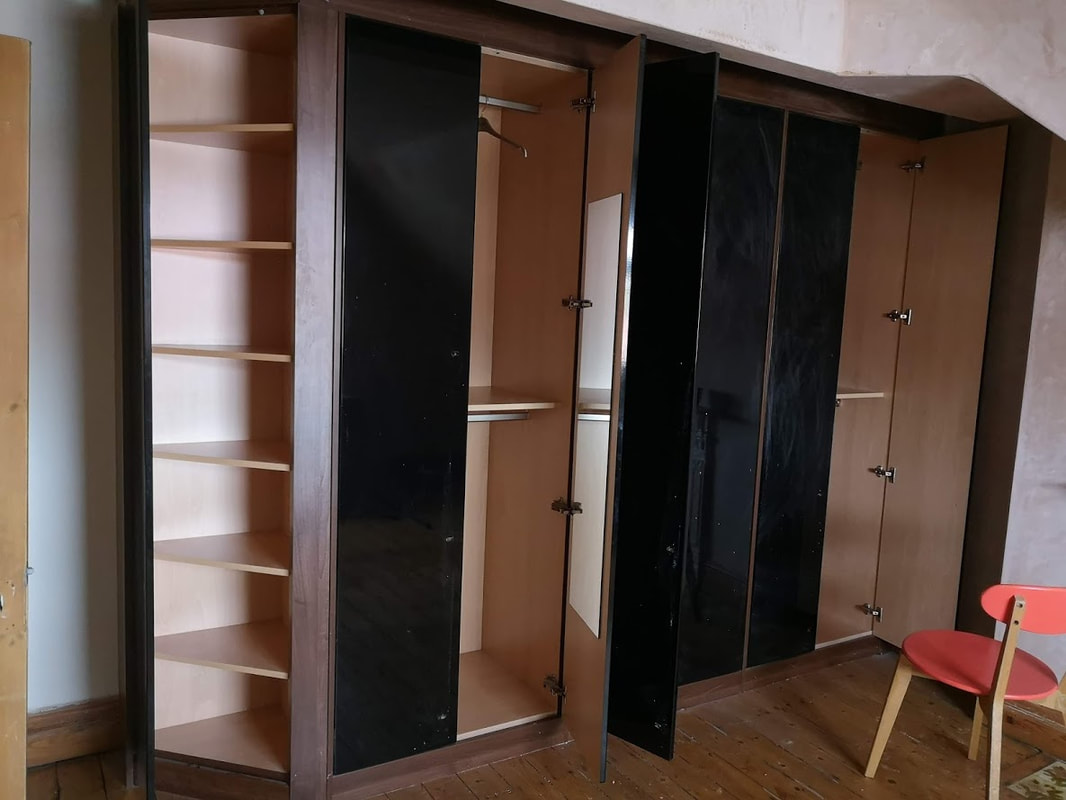
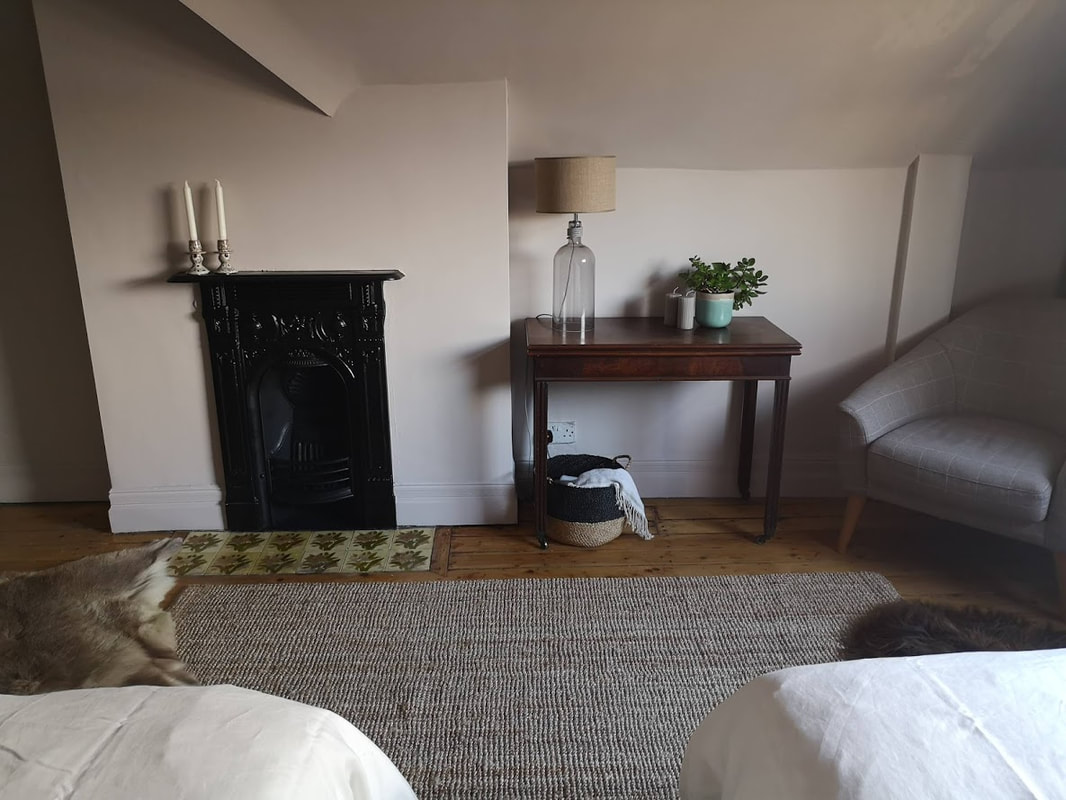
The next thing to tackle was the wardrobes. I debated ripping them out for all of 3 seconds, I just hated their colour and finish, but they were solidly built and did use the space very well, so I would only be replacing them with something very similar. The other alternative was to change the doors, but unfortunately these doors are a custom height which uses as much space as possible which is great from a storage point of view but not so great from ease of change. We did find some companies online that did offer custom doors but the cost was higher than I had budgeted for so we went for the simplest option. Paint!
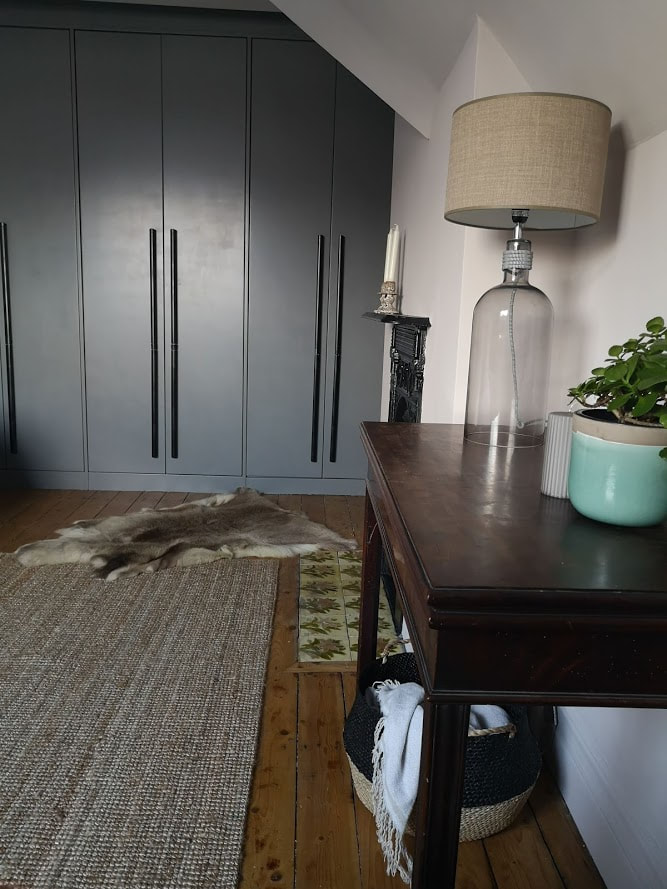
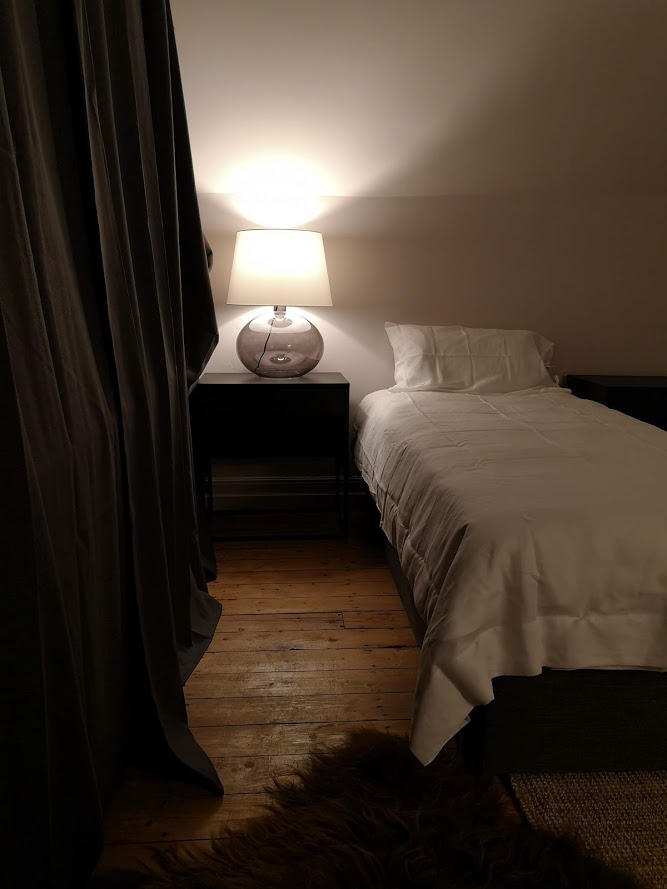
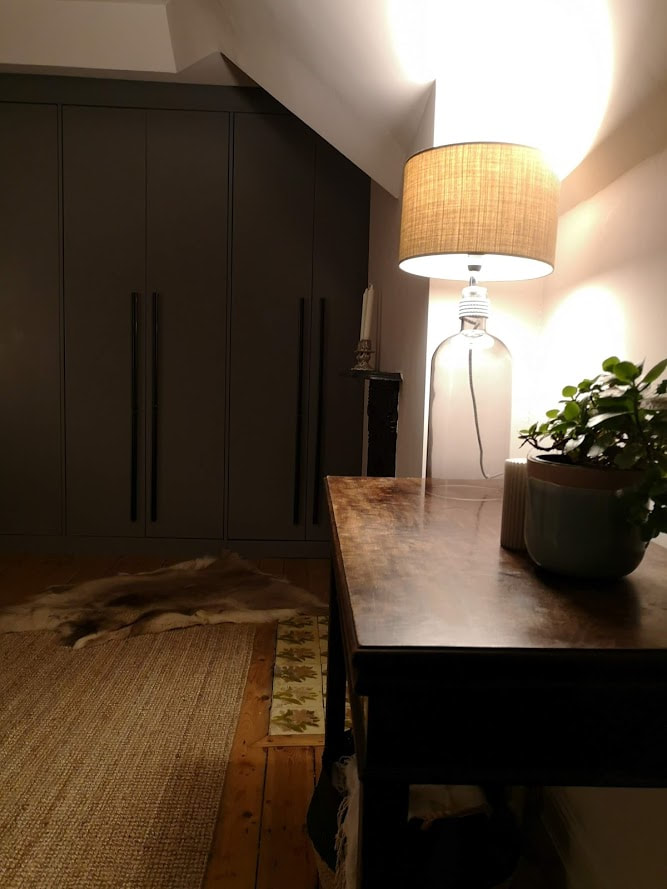
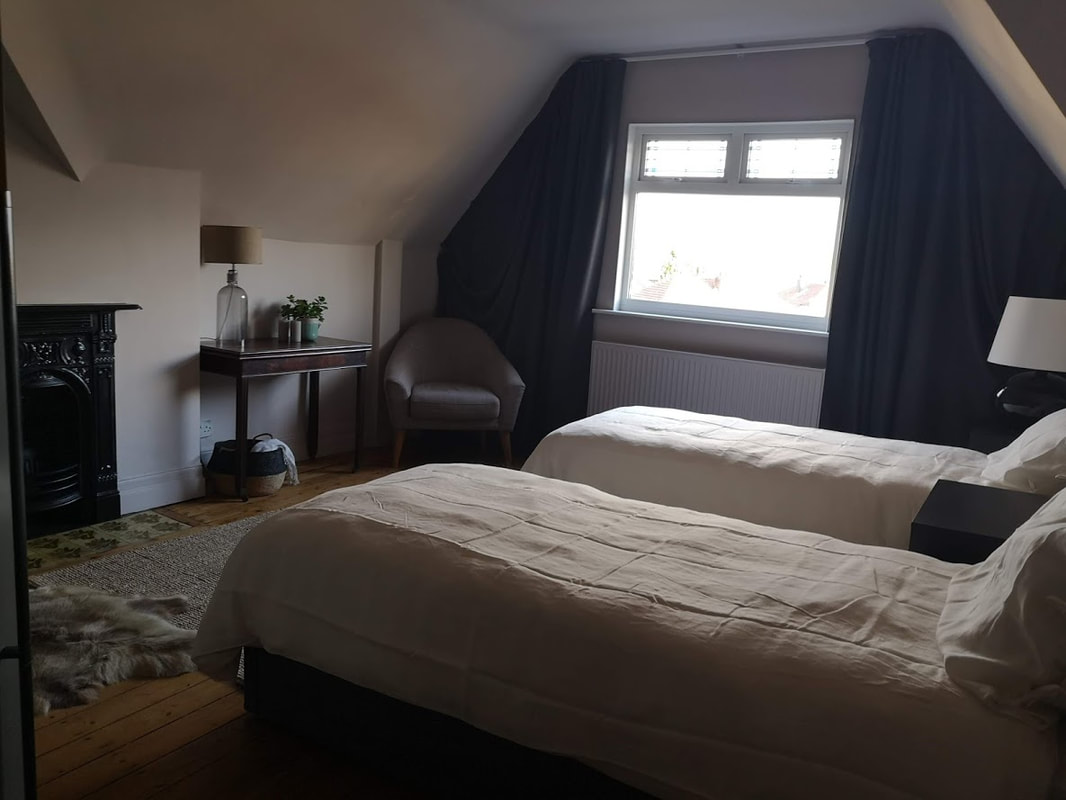
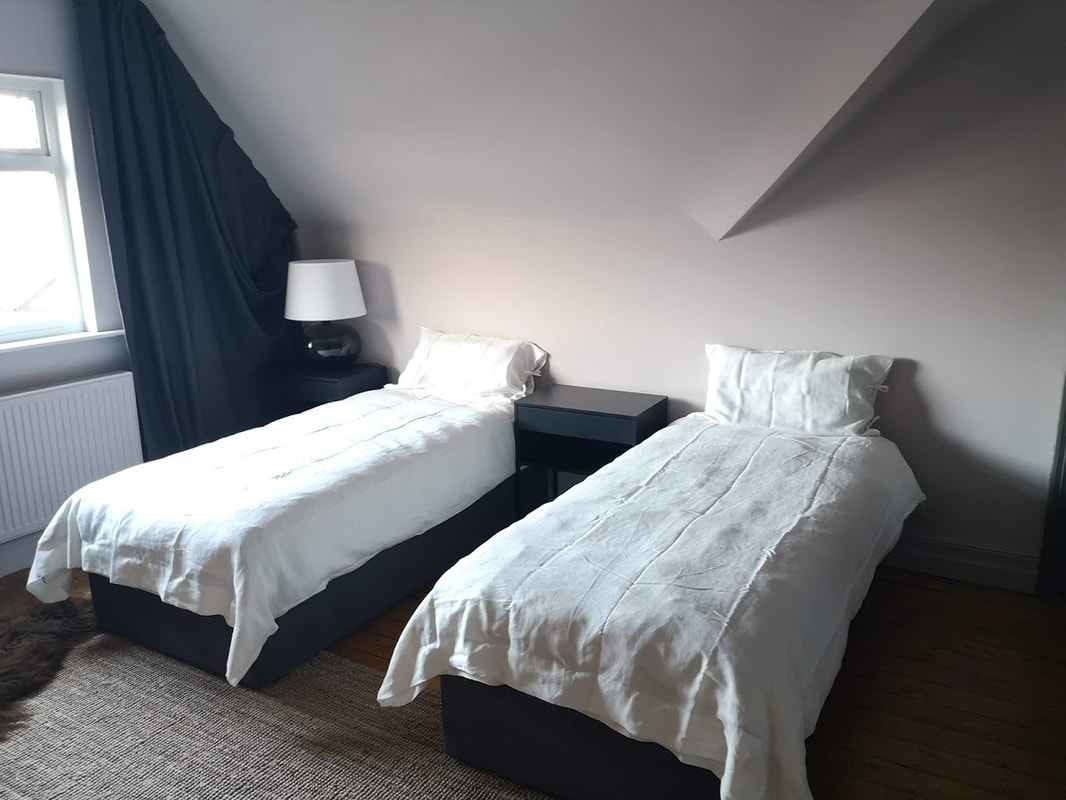
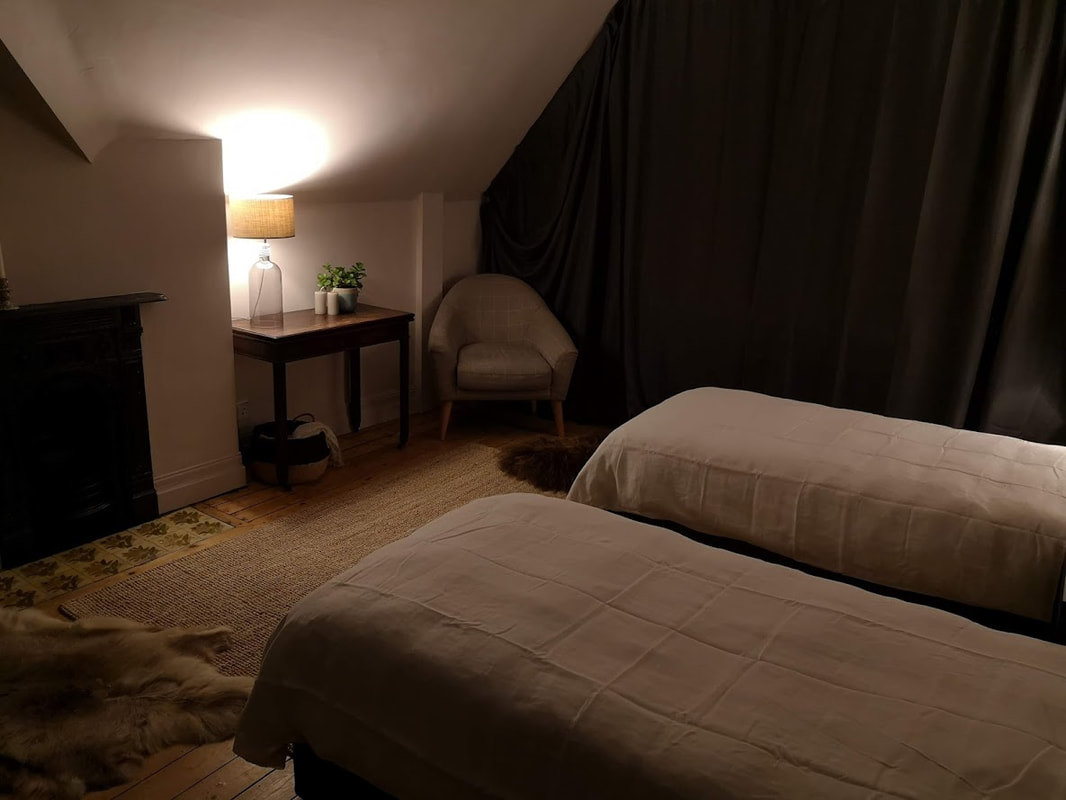
 Now that the painting was all finished we had to get down to dressing the room! I wanted to again create more drama in this room by creating an apex curtain across the whole wall where the window was. The idea behind this was to create a cosier feel in the room with texture and add to the insulation of the thin outer wall. To create the whole wall of curtain I fixed tracks as close to the ceiling along the whole end wall of the room. The centre portion have a draw string to allow them to be opened easily, and the two end diagonal tracks were fixed and would never really be opened or drawn (as you can see there is only wall behind them). I used dark grey Ikea curtains which are also black out and textured to compliment the look of the room. The end panels didn't really hang straight down as I had imagined they would, so I gathered the fabric in the end panels to fill out the space properly. I might live with it for a bit and see if it bothers me, in which case some inventive sewing will be in order (I have never sewn anything in my life, apart from a button, hence the fear). 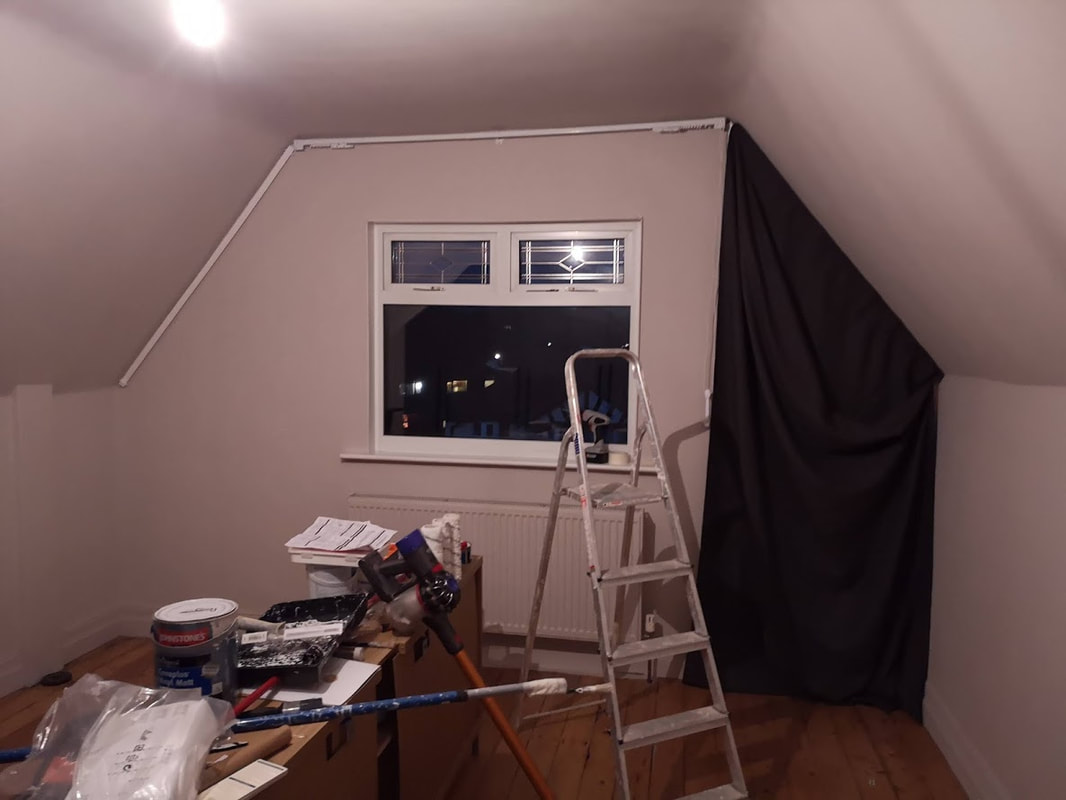 After an evening on my knees with Allen keys we got the beds and bedside tables up. The room came together super quickly after that with a few lamps I already had and some cosy throws and rugs we ended up with the nearly finished room below!
I hope you like the room as I am super chuffed with it. The only thing left is to create a headboard that allows the beds to be used as a twins and also as a super king. I have been mega inspired by the fabulous headboard over at frenchforpinapple (insta) which is pretty epic and would be great in this space and would stretch the whole length of the wall behind the beds and bedside tables. So I just need to find the correct fabric now... watch this space. If you want to see the whole process in video format, have a look at my Attic Bedroom Highlight on my Instagram page.
Lots more projects coming your way soon so stay tuned. BTW I know there might be some comments about the fur throw in the bedroom, but this is farmed reindeer from Norway, they are farmed for their meat a cows are in this country, and skinned the same way sheep skins are used in this country (there is also a sheep skin in this room near the arm chair). I bought this when I was 16 and travelling in Scandinavia.
5 Comments
7/9/2023 11:38:44 am
Thanks for making a blog about attic bedroom makeover. I really love how well written this article is really helpful. 8/9/2023 08:26:02 am
Your blogs have the potential to make a positive impact on many people's lives. Keep up the excellent work! Thanks for sharing your insights about attic bedroom makeover. 8/9/2023 09:21:06 am
Your blog post about attic bedroom makeover. Thank you for taking the time to share your knowledge with us. Keep up the amazing work. 27/9/2023 07:22:13 am
Thank you for sharing this blog about attic bedroom makeover specially the tinting part, very informative. 6/12/2023 10:38:22 am
I love how you embraced the unique shapes and angles of the room, especially with the choice of Pegnoir by Farrow and Ball for the walls. The color creates a cocooning effect, and painting the skirting boards in the same shade was a brilliant idea to enhance the sense of height. The custom paint job on the wardrobes and fireplace turned out fantastic – such a cost-effective and stylish solution! Leave a Reply. |
Categories
All
|
 RSS Feed

|
|
|
|

|

|
|

|
|
|
Award winning Interior Design & Styling - Cheshire, UK
Copyright © 2022