
|
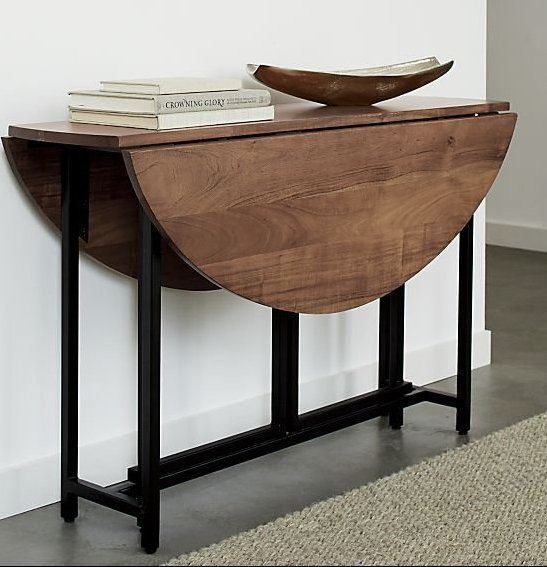
We are totally aware of the massive revolution that is taking place these days in peoples homes with most of us having to work from home for the foreseeable. So you need that space to work from home but don't really want to fork out for a massive desk you might never use again... so here is a great idea that might save you some ££ and also give you the space you need to work without compromising on style. 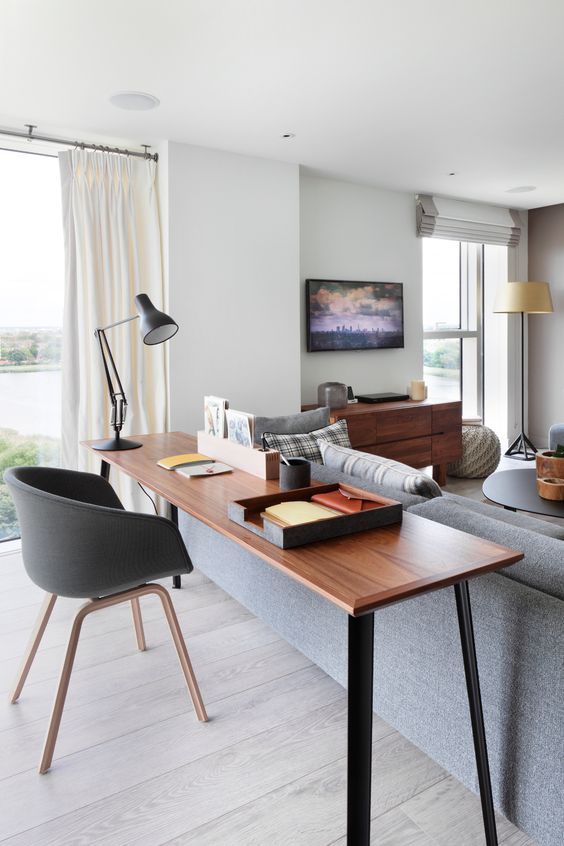 Make way for the humble CONSOLE! Yes you heard me! This simple table, if chosen correctly can sit in most places and function well as a desk without dominating the space or being a totally redundant piece of furniture once this is all over (yes it will!) So here are a few pointers to look out for when selecting your new console/desk space.
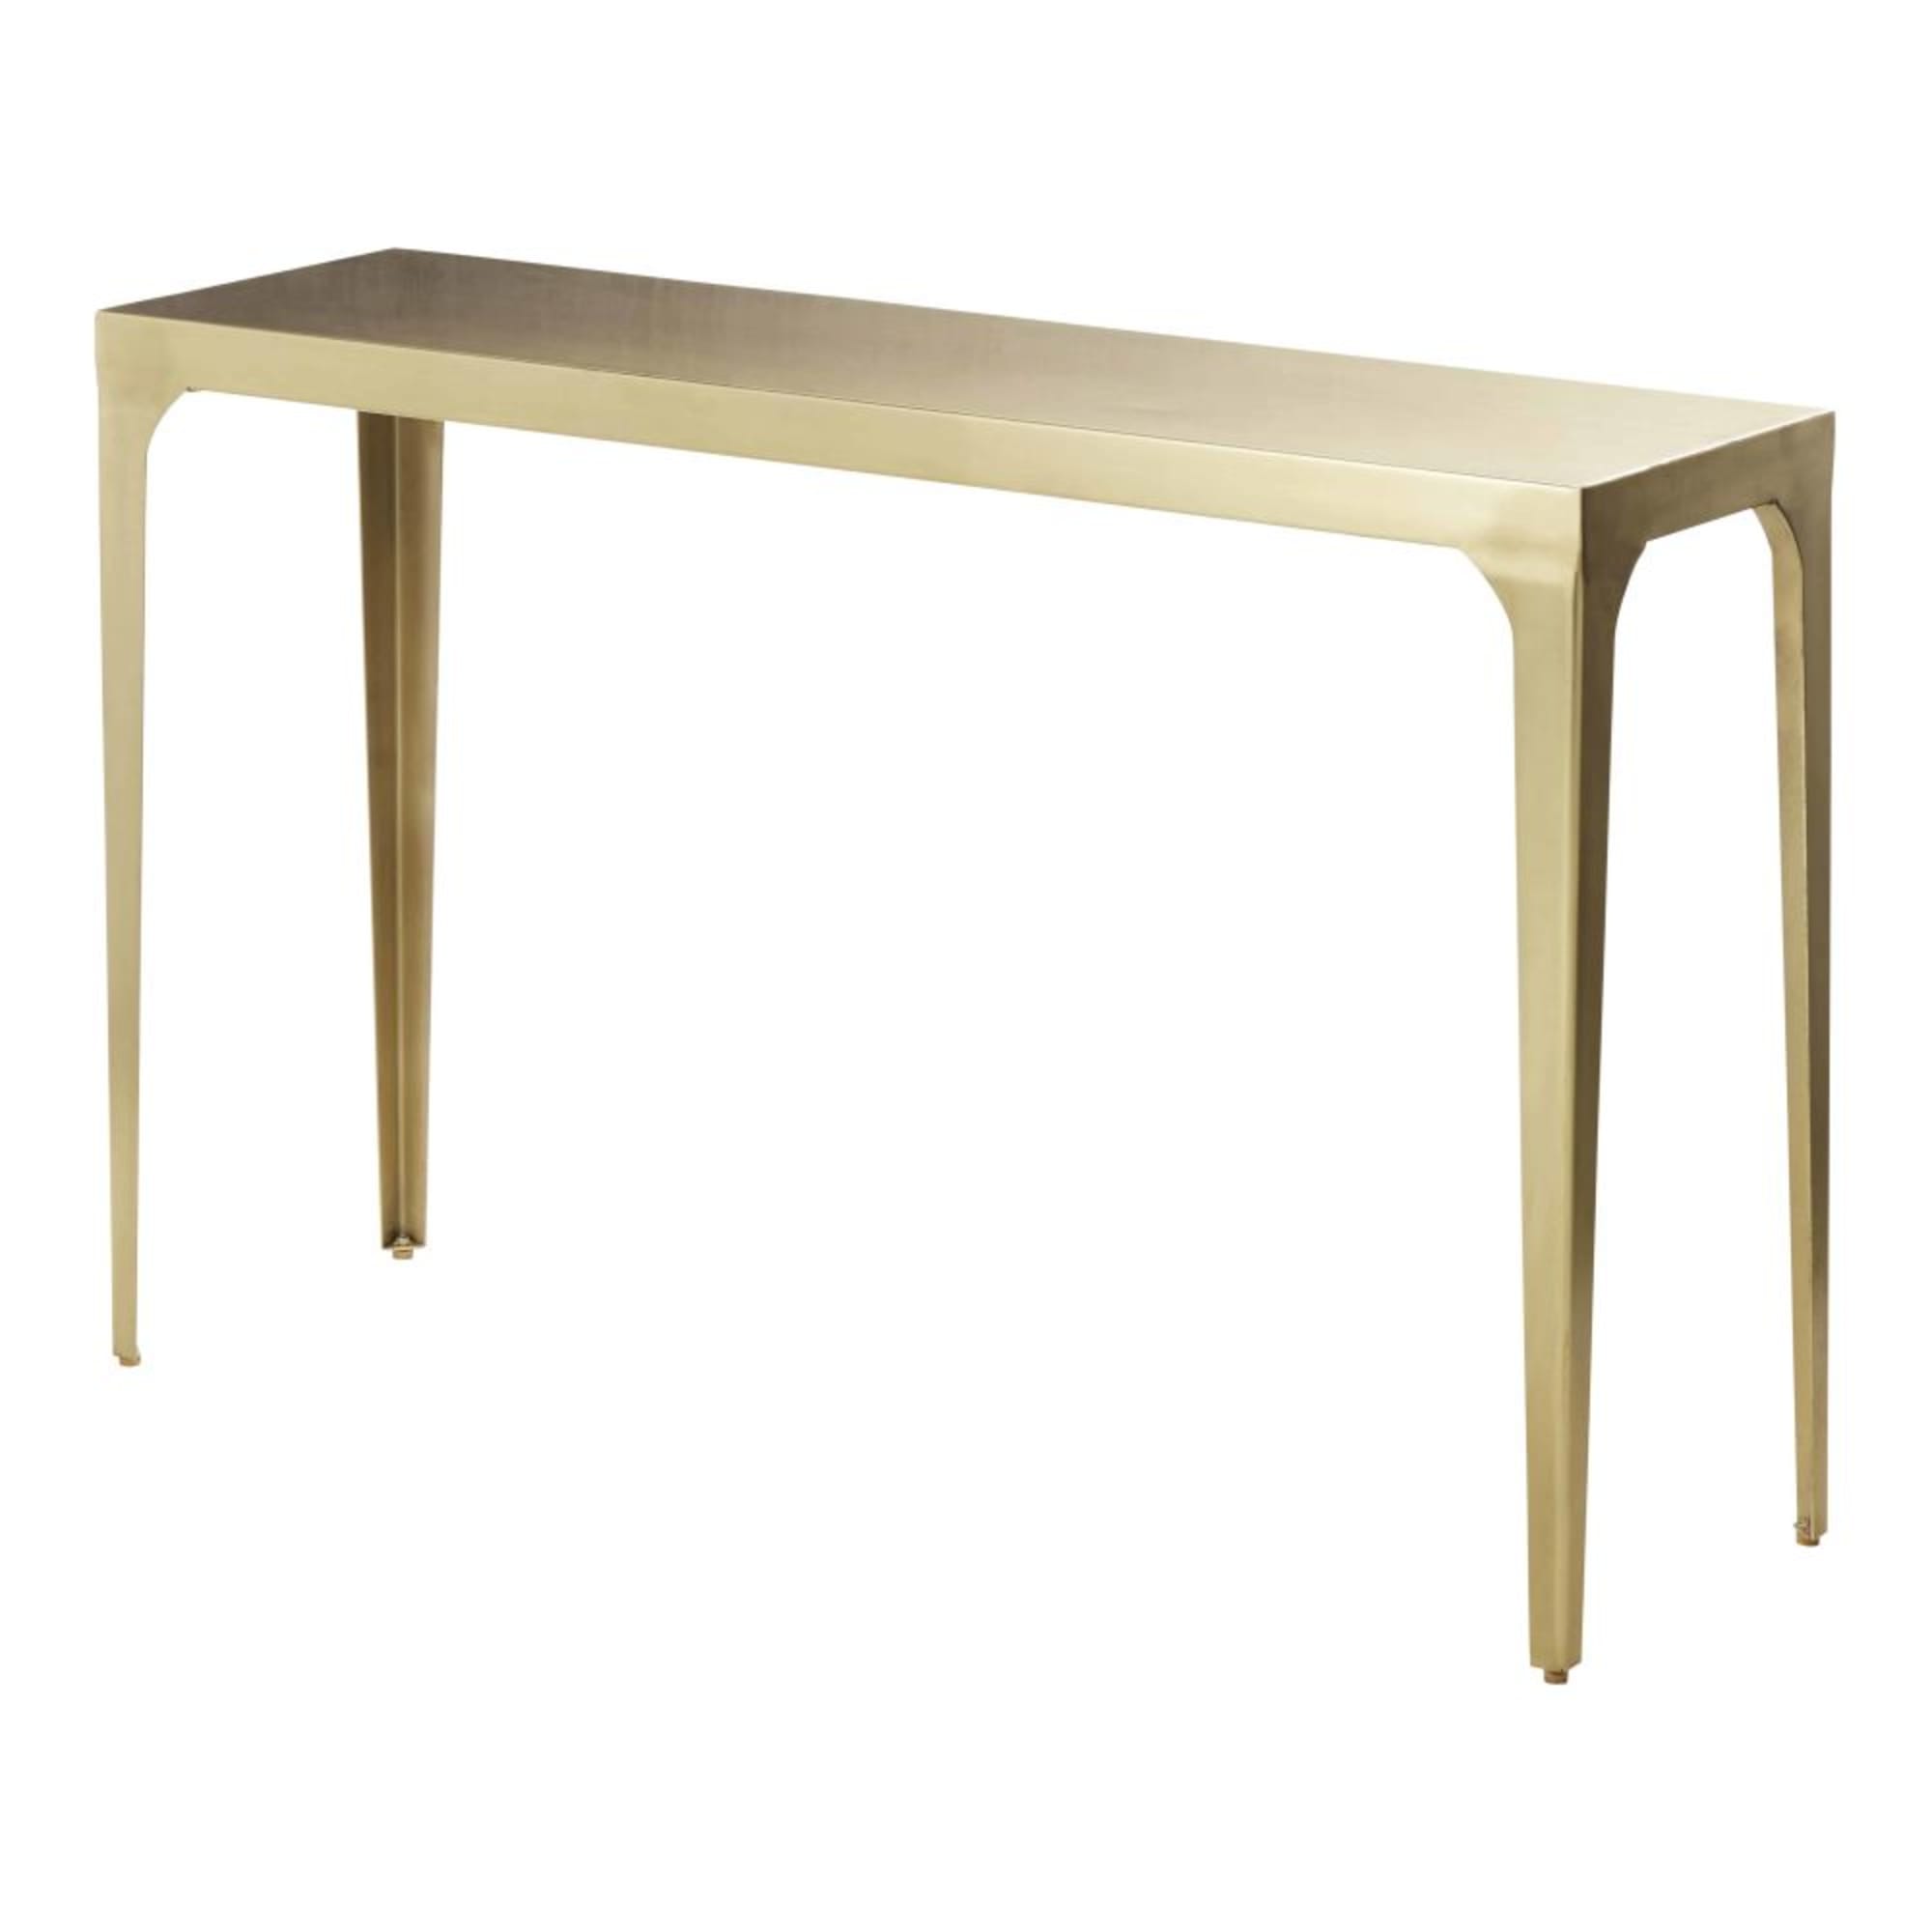
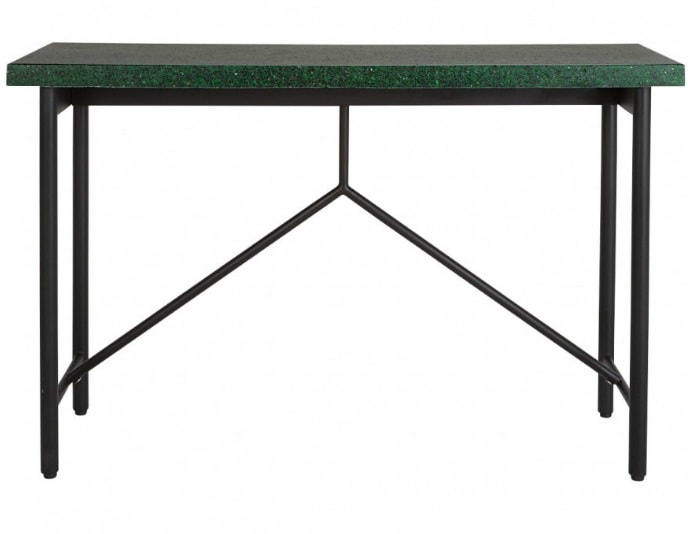
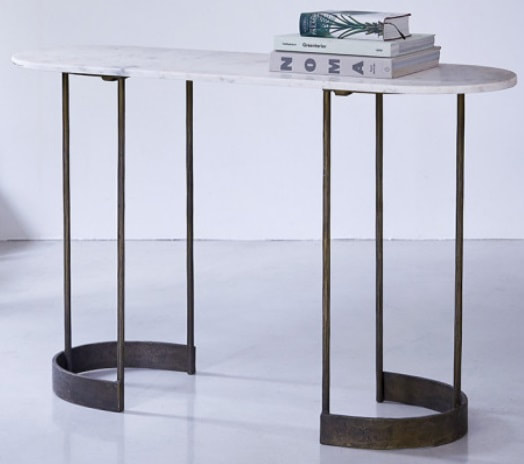
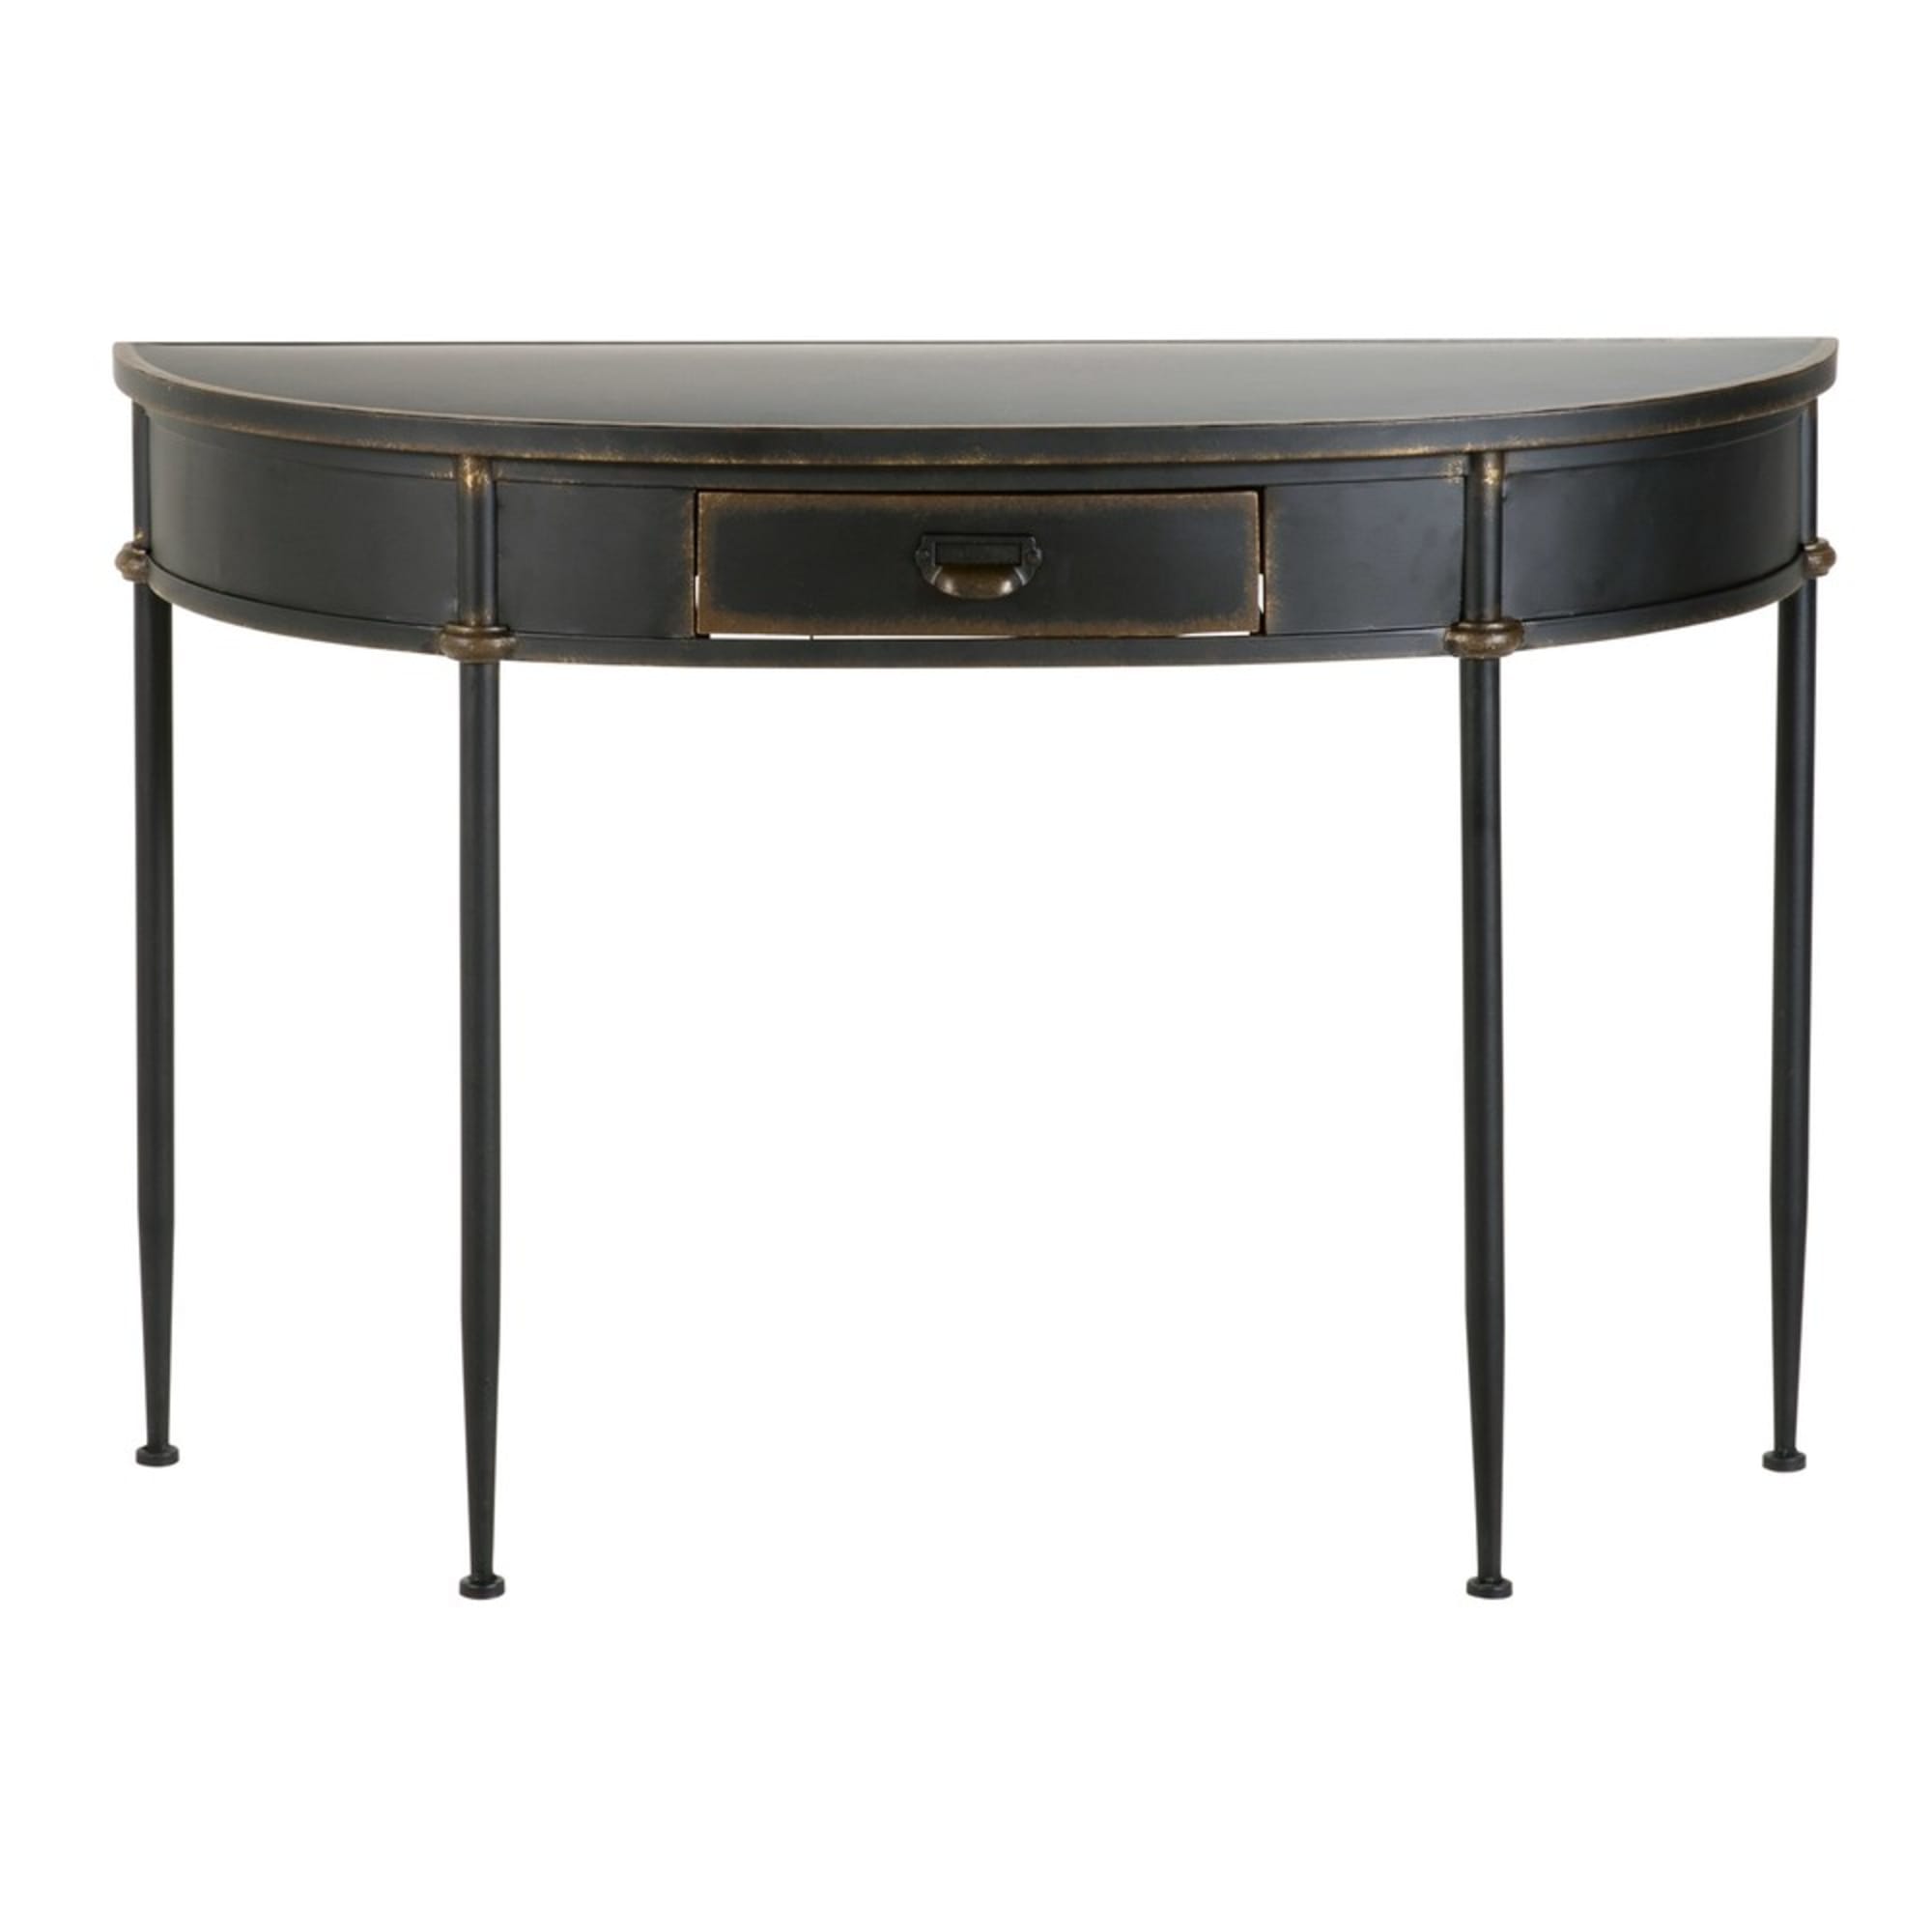
Option 1: For a bit of glam --> Go for Gold This incredibly stylish console can be a fabulous desk space and styled to perfection as a console.  Option 2: For a mid-century vibe with a super swish tambour door (i.e. sliding door) check out this beauty. It is available in two wood tones to perfectly suit your interior. 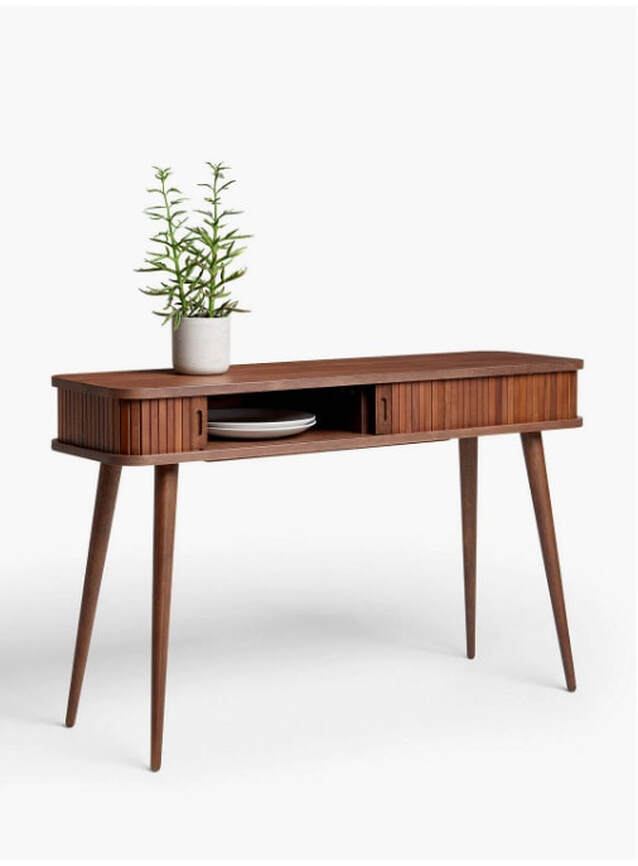 Option 3: Terrazzo fabulous This stunning green lava stone top with black legs is a dramatic one but oh so fab! Terrazzo is strong and will survive most things so get cracking!  Option 4: Curved and Marble-iscous Yes fine I might have made that word up! BUT LOOK AT THIS CONSOLE! Isn't it stunning? That marble top and the curved edges gives this a really high end look without the same price tag! 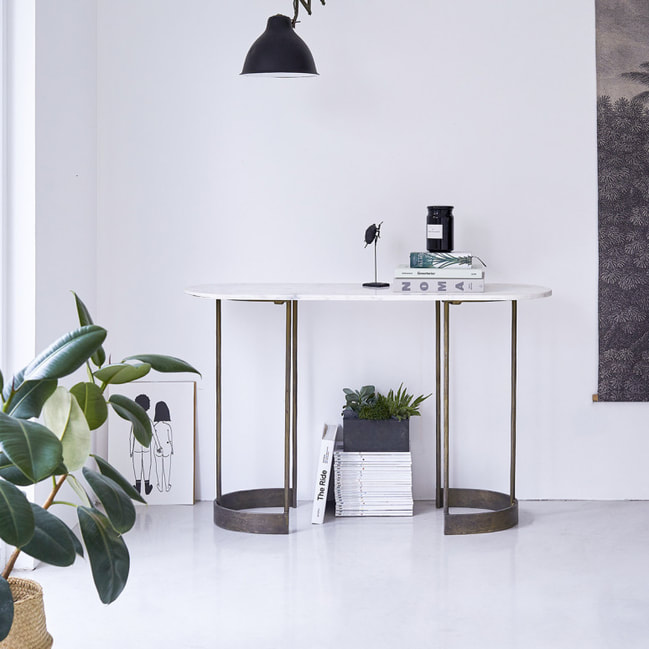 Option 5: Old-school-cool For a nod to them good old days, go for this vintage inspired metal console table with a curved edge, giving it a softer feel. 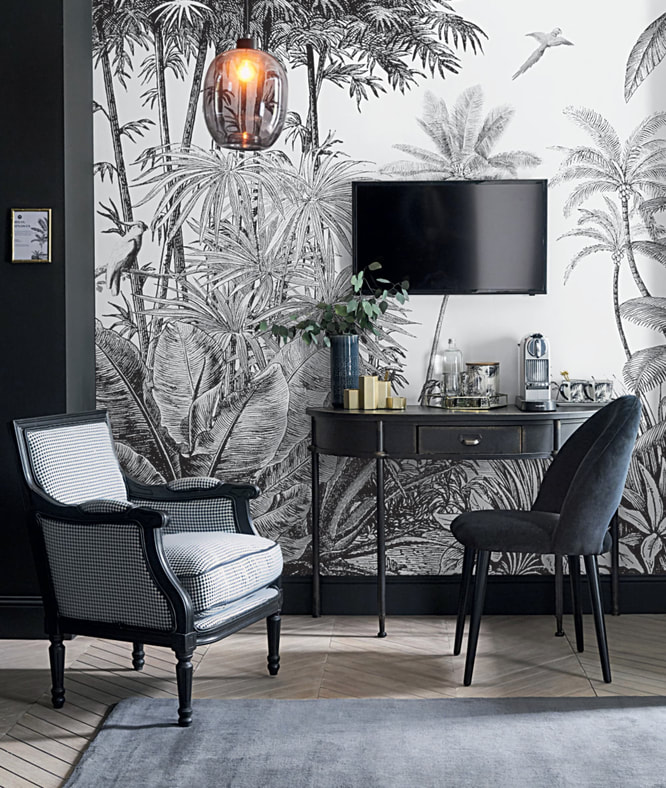 Shop the look:
These items may contain affiliate links, which means I receive a small commission if you make a purchase using this link.
0 Comments
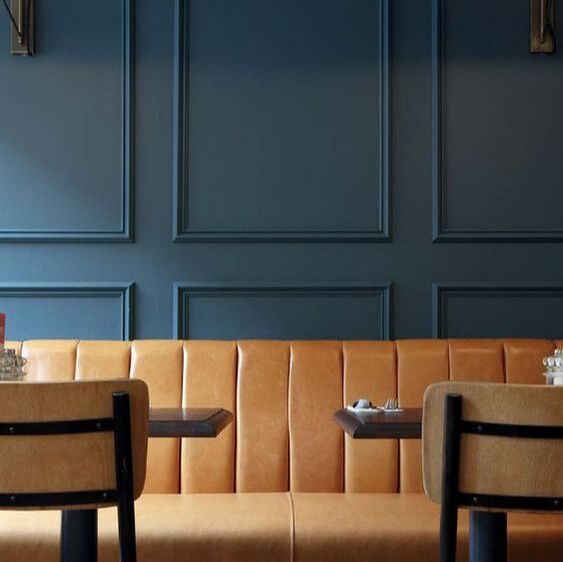
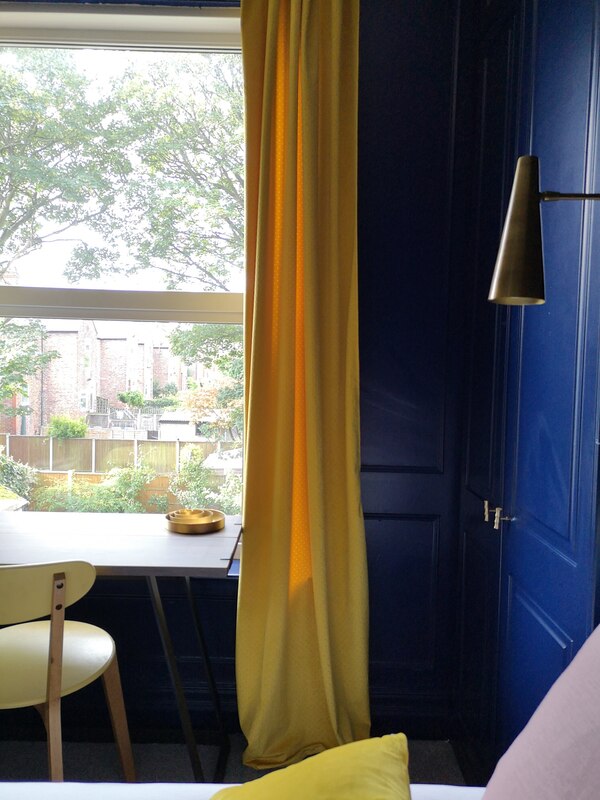
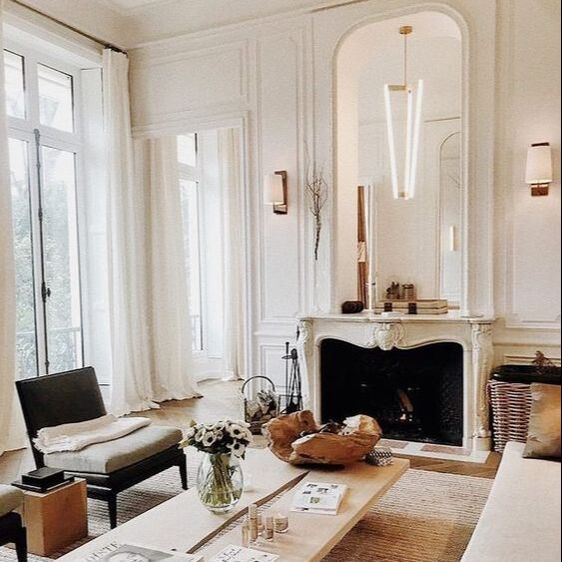
Hey everyone, hope you are all well. In these new times we need to adapt and if we are lucky enough to be able to work from home then its imperative that for us to be productive that our spaces have to have the right kind of energy too. So here are our top tips for creating the best working from home space. 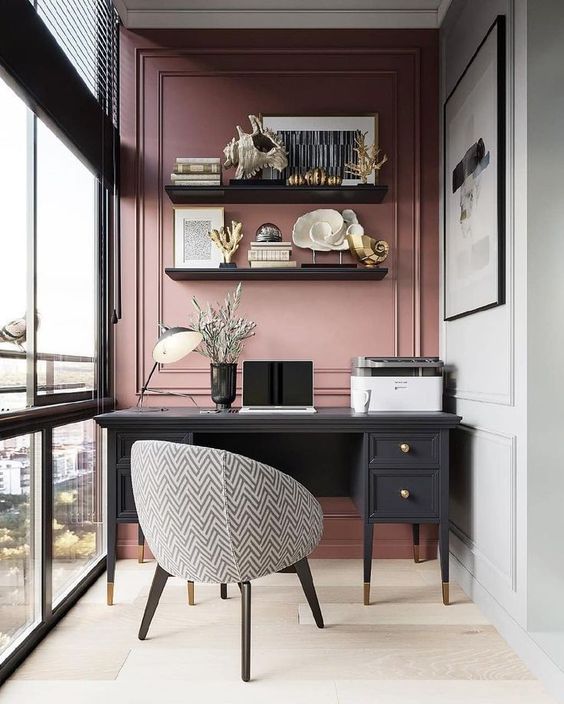 I love how this small work space was created in a covered balcony with a bright colour pop and some fabulous shelf styling. Source: Berg Interiors Tip 1: Dedicate a space. Ideally not in sight of your bedroom/rest spaces. This has to be a specific space just for work. Most people work from a computer so all you need is a small table or even a console. Its too much hassle to stay setting up your laptop every morning or moving about every few hours, so ideally this space will be solely for work. If you have a dining room that you don't use very often or a spare bedroom that can take this role then put the table in there and get connected. 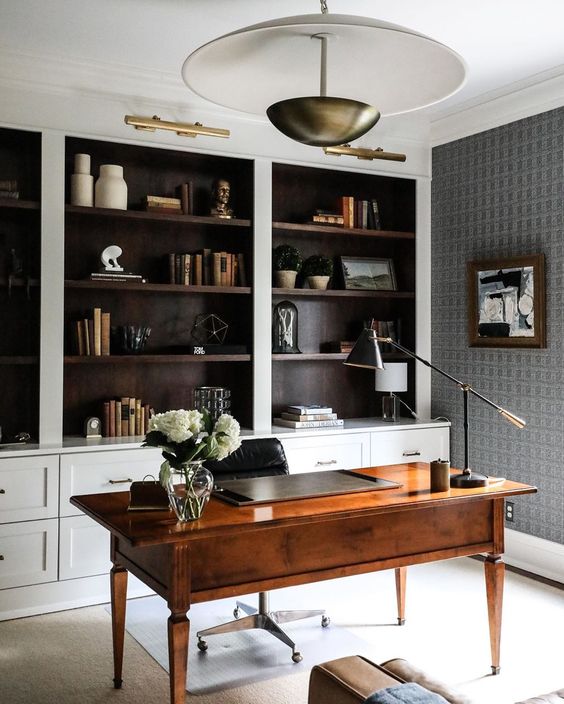 This incredible study space by Park and Oak Design shows how including a vintage table with a beautiful lamp creates the perfect space to sit and work. Tip 2: Light. It is super important that once we have a space that is well lit. Most people will be working during the day time, and thankfully the days are getting longer now and there is daylight well past 5 but always consider keeping a lamp nearby to add soft light for those gloomier days and if you are working late. Also, consider where the sources of light are to avoid glare.  This cosy desk space using a beautifully styled console and an upholstered armchair offers the perfect space to get to business. Source: Atlanta homes and Lifestyle Tip 3: Get comfortable. Unless you already have a comfy and stylish office chair at home, the choice of seating is important. Choose upholstered or cushioned dining chairs over stools or anything with less support like a sofa or a lounge chair 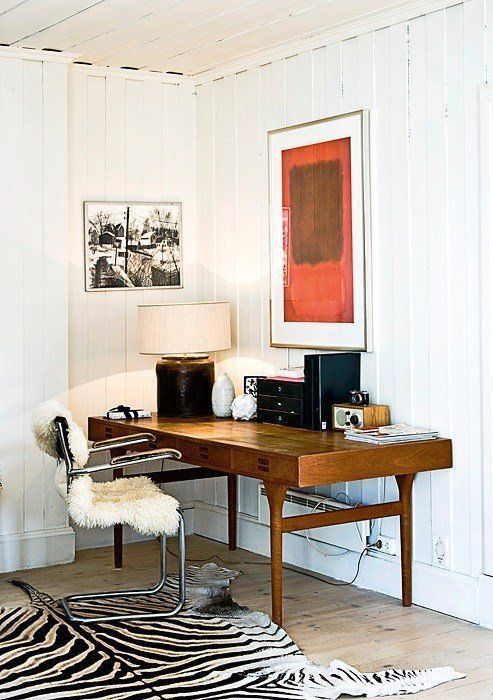 I love this vintage desk against the panelled wall with the oversized lamp! Source: Unknown Tip 4: Keep a loose routine. Try to remember that you are still at work, so don't get distracted by the laundry pile or other chores. If you can squeeze a load in while waiting for that meeting why not, but remember that multitasking leads to distracted minds and after your hard day you don't want to be faced with a chore done badly that needs re-doing. 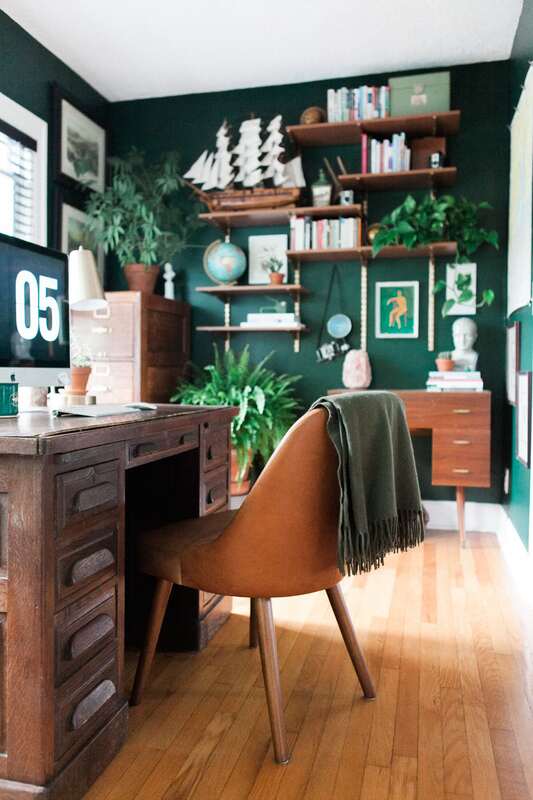 This is the gorgeous desk at Jessica Brigham's house. I love the relaxed vibe here and the vintage desk obviously. Tap the photo for the house tour over on her blog. Tip 5: Be kind to yourself. After all, home is your nest and your sanctuary. Light a candle, order some fresh flowers from your local florist (and help to keep local businesses afloat). Do some stretching and remember that any change will take a few weeks to adjust to .. And this too shall pass. Lots of love Pete P.S. Head to our next blog post to check out our favourite consoles that work great as desks 
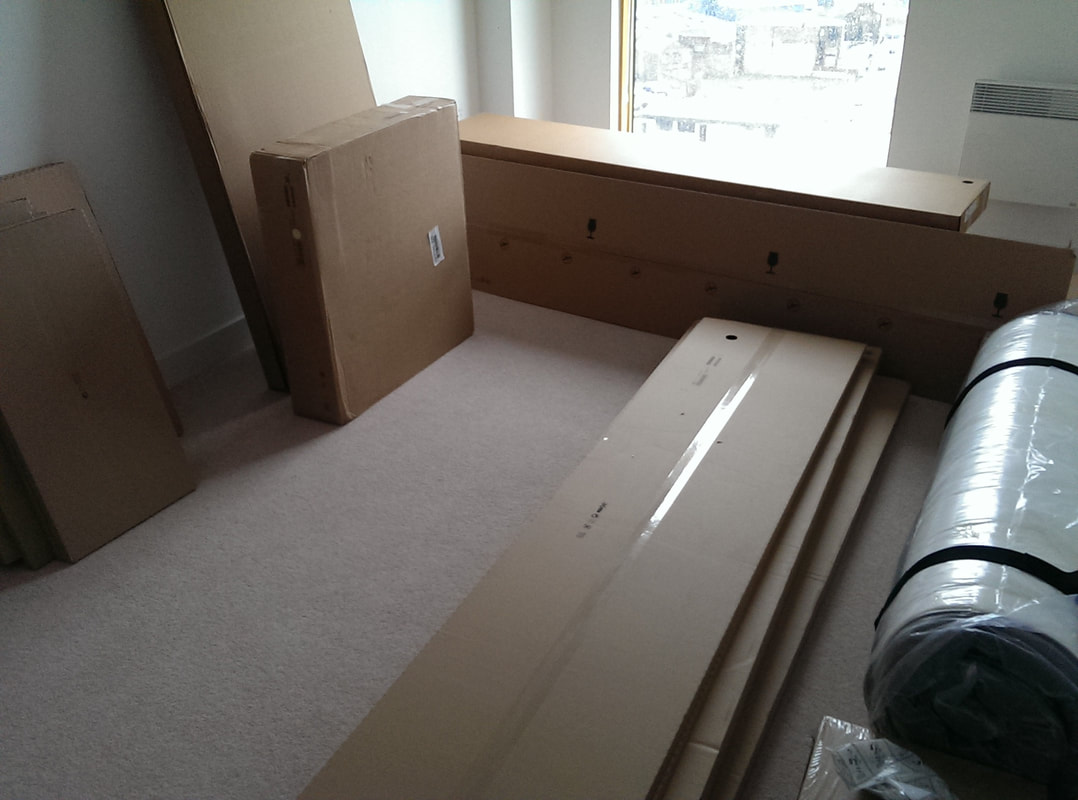
 My inspiration photo by Warings Furniture So I got to work measuring out the walls and the spaces available to start my panelling adventure. It is really important to note details such as where plugs and switches are, or where your radiator is fitted. If you don't consider these you could end up with a proportion of your panel distorted by the radiator - whereas if you consider it, then you can design around it making it a more considered look.
After I was happy with the provisional panel layouts and how the room would look, I got to a second measurement. This ensured that I had the correct lengths and knew how many of each I needed. It might sound completely daft but make sure that you measure from fixed points, and measure from the outside of each panel.
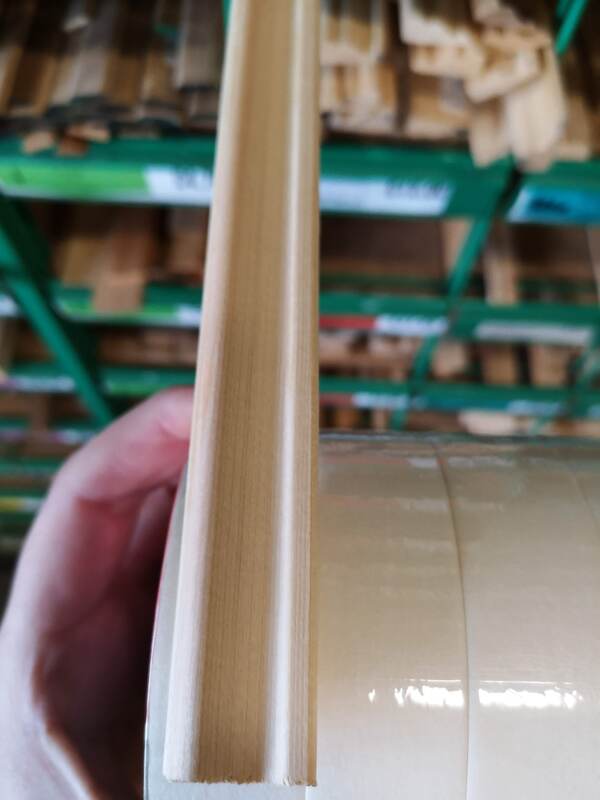
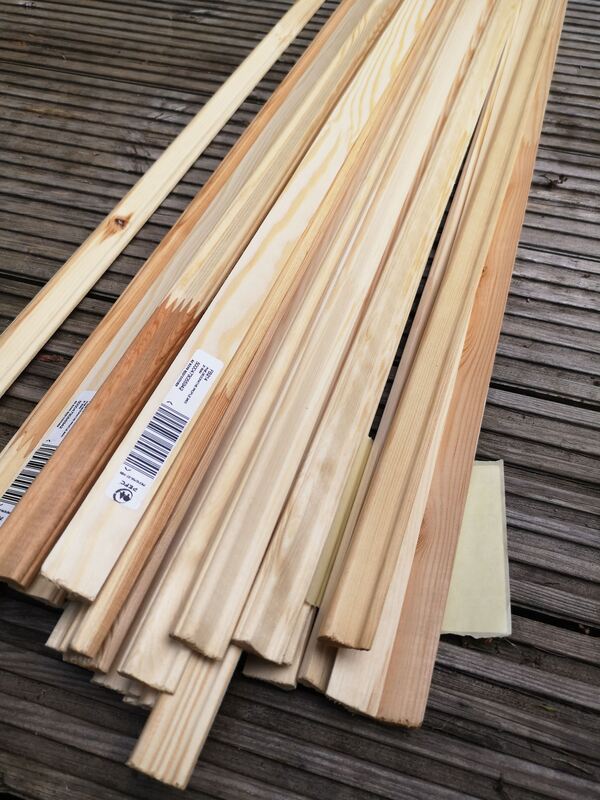
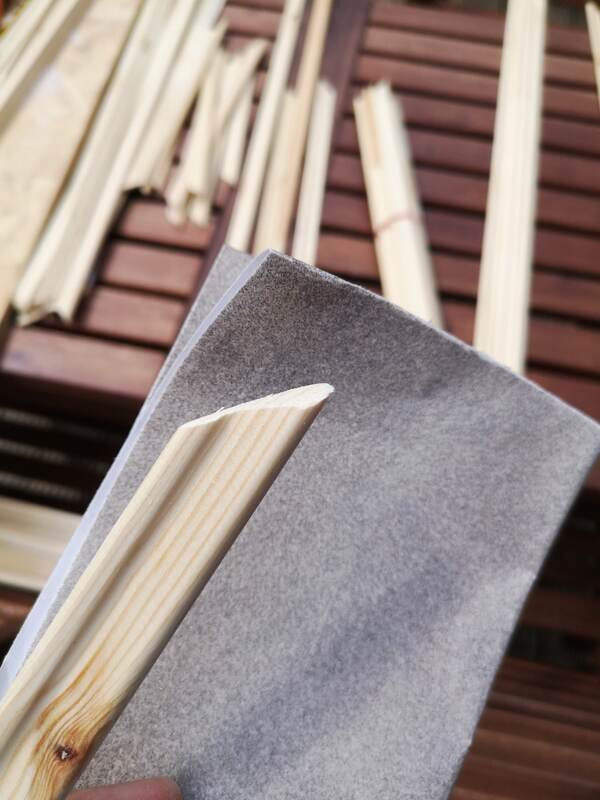
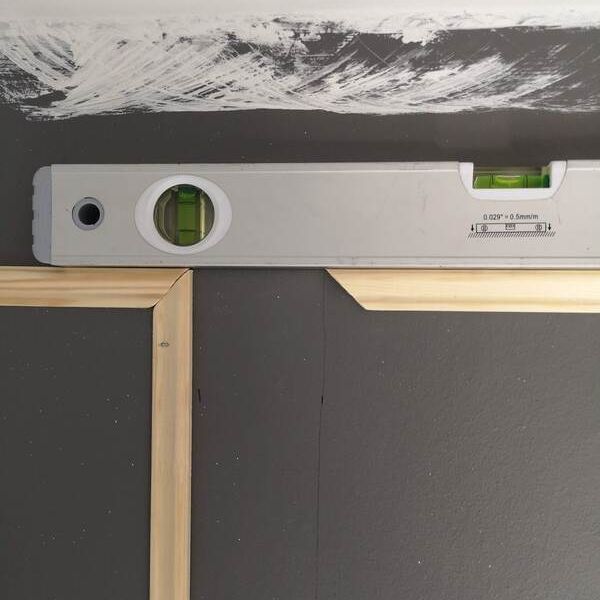
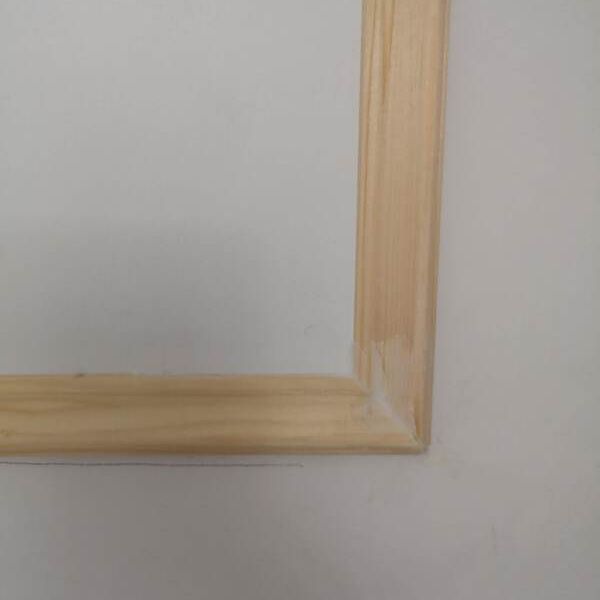
After that check your local timber yard or DIY store for the right type of beading to use. I ordered mine online as I knew I needed a lot. I did some maths to calculate which is the best way to cut the pieces out of the pre-cut lengths that are delivered. Lets say a piece of beading is 2m long, you might be able to get two lengths of 80cm and one of 40cm out of it if you cut it carefully. Its unfortunately not as easy as adding up all the lengths you need, as you will want to have as few joints as possible, and therefore keeping them to the corners as much as you can. Lightly sand the cut edges and I would also write in pencil on the back of them the lengths that they are, its so easy to get confused and spend ages re-measuring. Once you have all your pieces, you will need a ladder, a level, and a nail gun (trust me you don't want to be doing this with a simple nail and hammer, it will take you years). Some people advocate gluing them to the wall first before nailing them in. I skipped this bit and opted to just nail them in as I had a pneumatic nail gun which packed a punch. I would start from the smallest panel and do two adjoining sides first, this makes it easier to triangulate the remaining two sides so you get a whole square/rectangle.
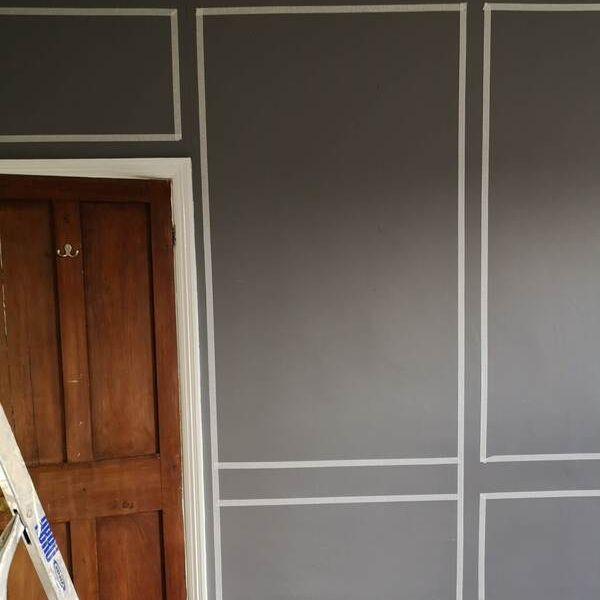
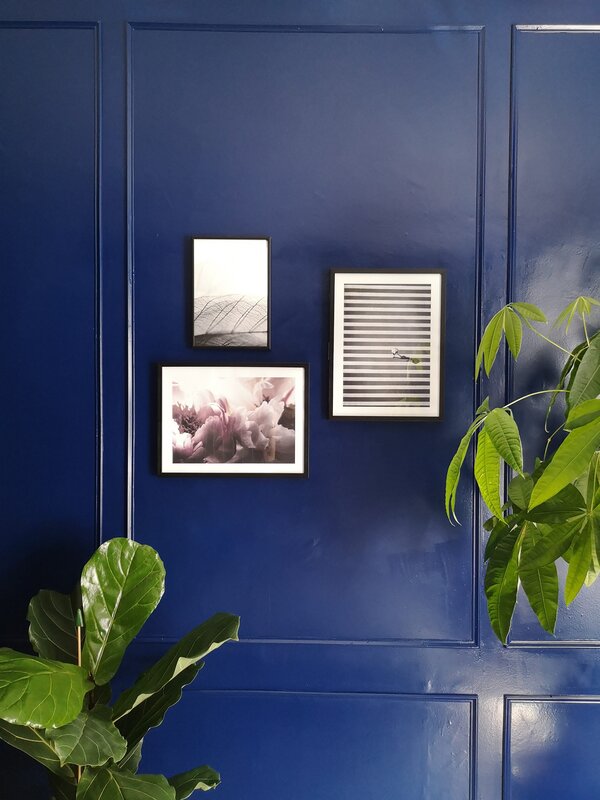
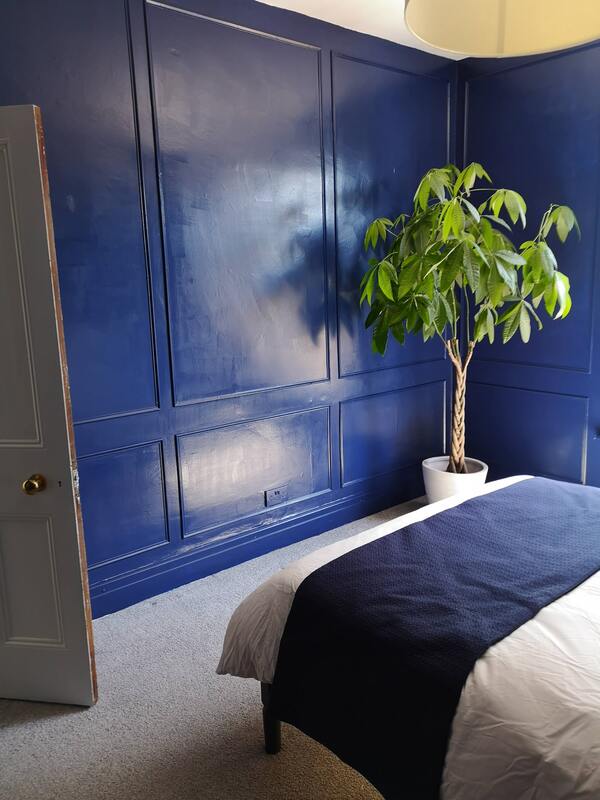
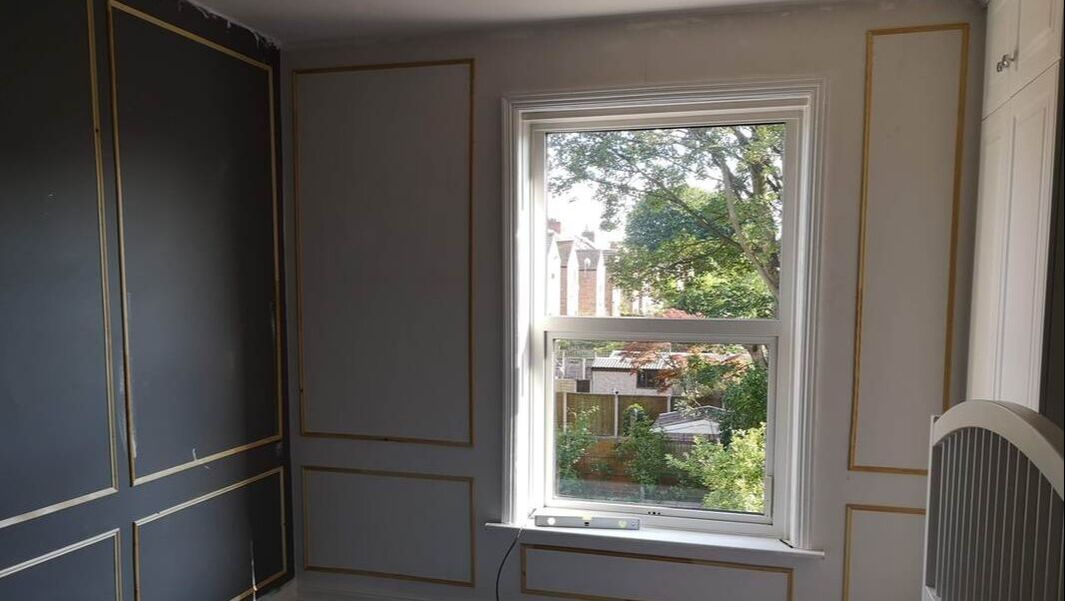 After all the caulking is done and the panels up you can start seeing how the room is going to be transformed.
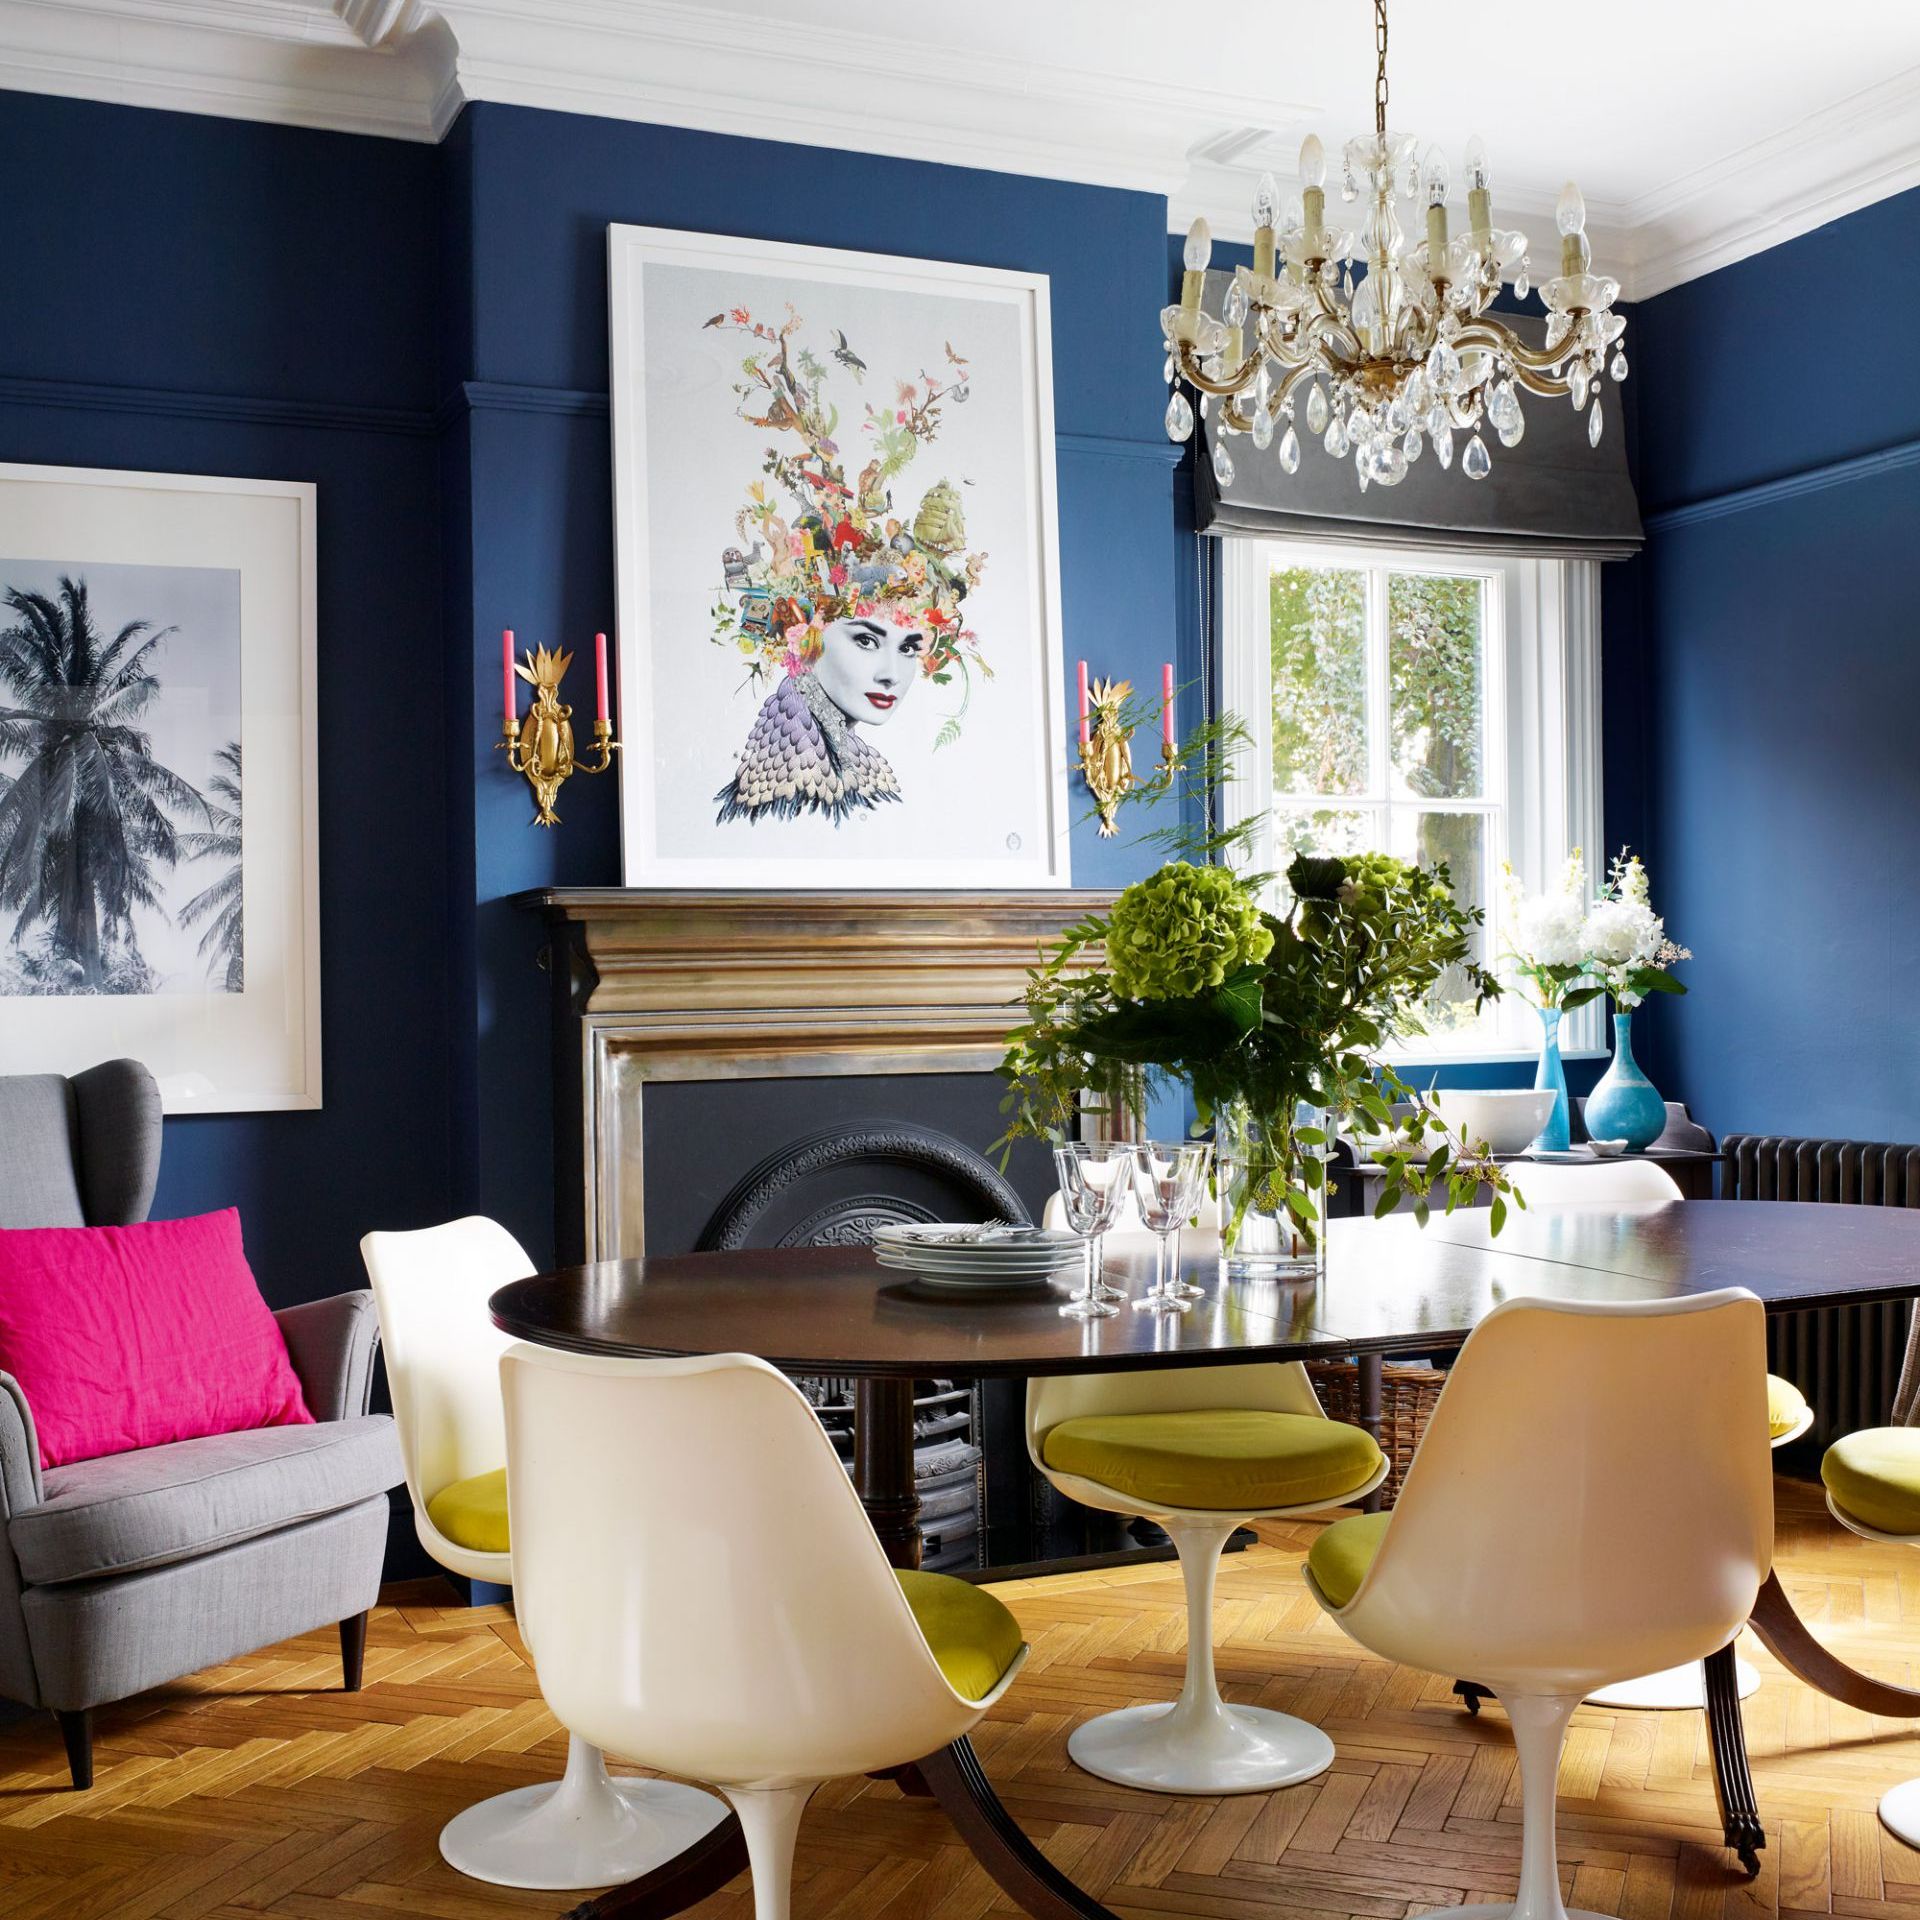
I had a conversation with a client last week about what style her interiors should be. She mentioned how she felt torn between the design that she loved and the age of the building. I've had this discussion myself with various other clients and thought I would share my thoughts with you today. The way I see it is, you have three ways of doing things. Congruous design:
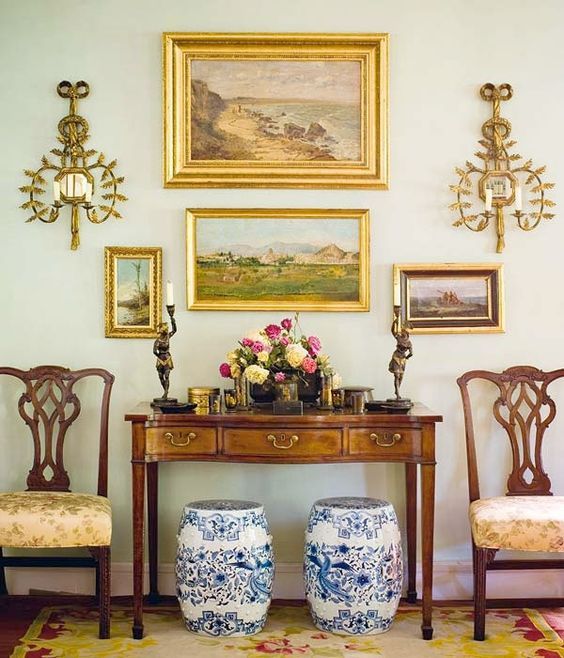
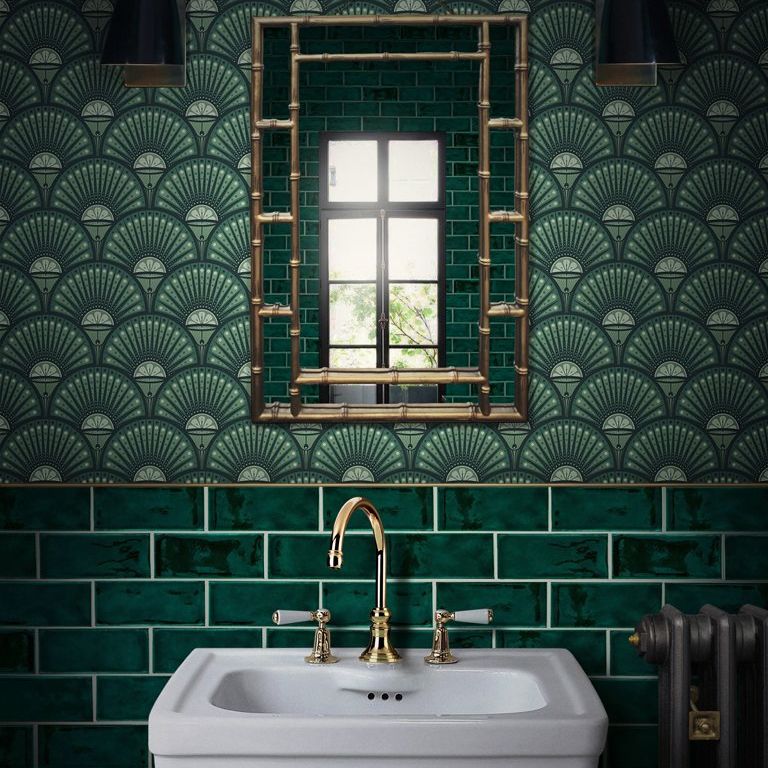
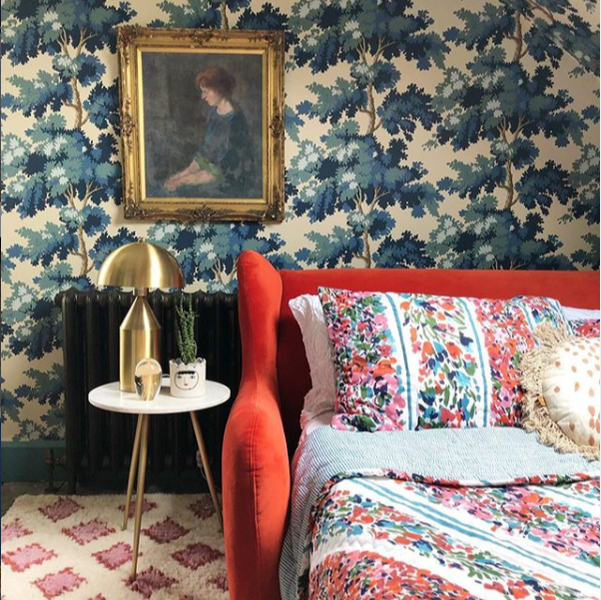
Playing within the design boundaries of the period of your home can help your interiors feel more linked and give them a sense of permanence. The trick to not make it look dated or tired is to use nods to the era but slightly more updated versions. There is a very satisfying joy of using vernacular pieces in a home. Like when you find the perfect Eames mid century arm chair for your lounge, or that gorgeous Edwardian bookcase for your alcove. It can fit like a glove and seem so timelessly beautiful. Incongruous design:In this method of designing, you note the architectural age of the property, but go off-piste with your design. This can be quite exciting and scary for some people but can really render some incredible rooms. This can work both ways, old to new and new to old. Some incredible spaces can be created by contrasting the style of the interiors to the architecture. Think of a gorgeous plastered ceiling and then a beautifully sleek modern sofa with an iridescent coffee table. Totally clashing but also beautifully striking. In reverse if you had a modern box of a room with beautiful floor to ceiling windows, why not bring some vintage charm in with an elaborate vintage Persian rug and an antique console table. Immediately enriching the space and displaying the antiques as art pieces within themselves.
Some people find this design a bit jarring but when done well, and for the right person, it can render some incredible spaces that are a joy to live in and experience. Hybrid design:Here a combination of the above is used. So In an old home, using some modern and vintage pieces together to tie in the interiors with the home but also bring it forward into the modern age and ensure that the space doesn't look like a museum. Or in a modern home, balancing off the ultra modern design pieces with some older pieces - therefore introducing a mixed design. This can be a tricky affair to master but is also quite fun to play around with. It means you don't have to stick to one or the other, but just follow the beauty, and experiment with the look. It gives you more flexibility and also helps create a really eclectic and curated space filled with your favourite pieces. And if you are anything like me, and a bit of a magpie for beautiful things. You will be able to have a home that sparks joy at every corner.
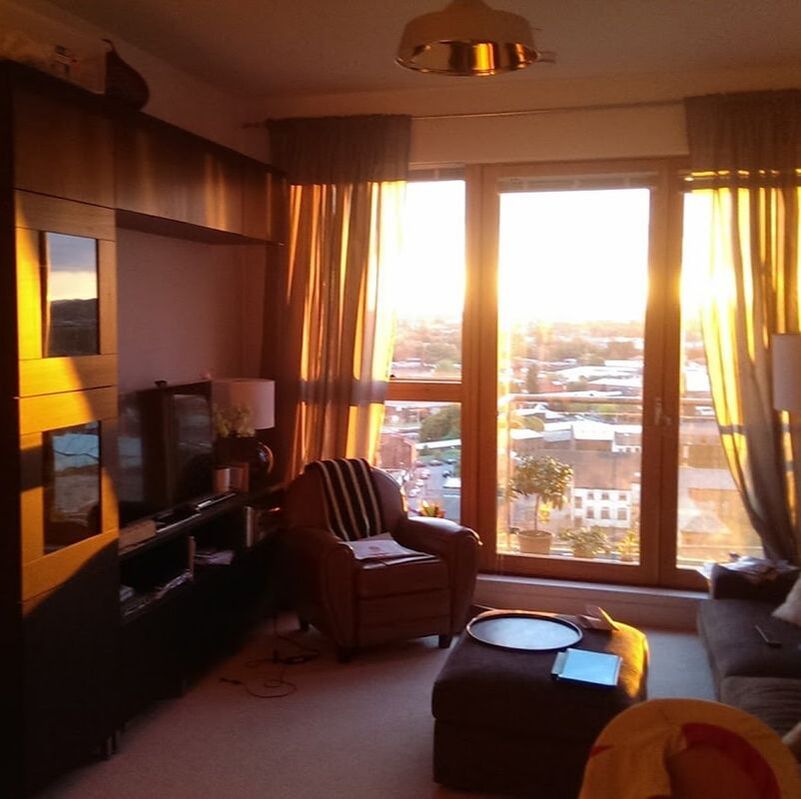
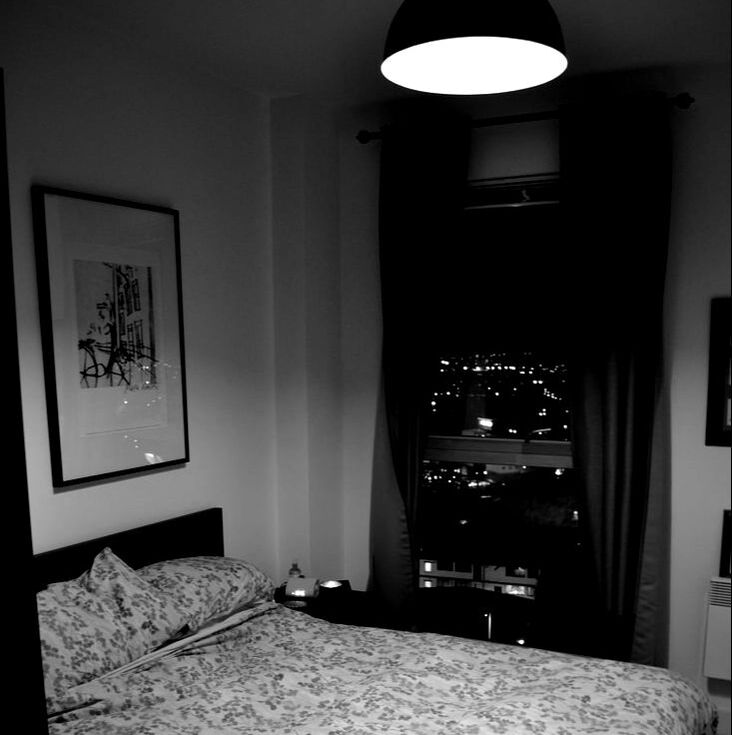
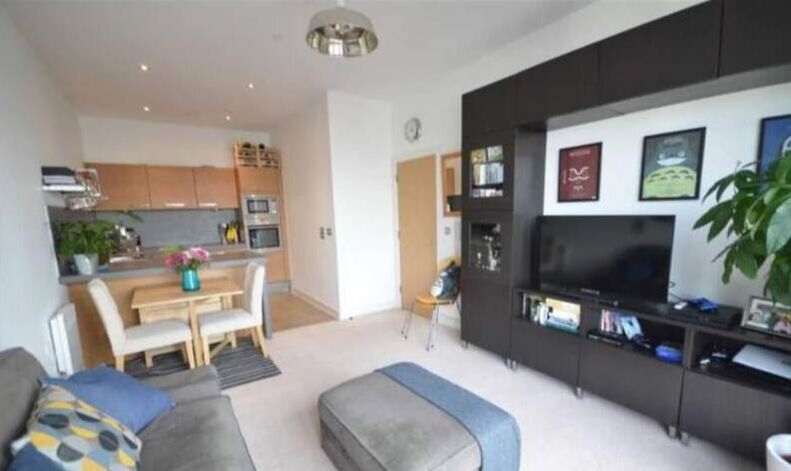
Introduce character - I needed some soul in my place. A new build has no history, no-one inhabited this space 20 stories up in the air at any time before me. So there I was the pioneer, needing to inject some humanity into this man-made space. I went vintage. This was a cheap and environmentally sustainable way of decorating my home. I trawled the vintage markets around Manchester for anything from vintage frames to ottomans and serving plates. Things that caught my eye came home with me. That reflected some of my soul back into my space. I still do this from time to time. 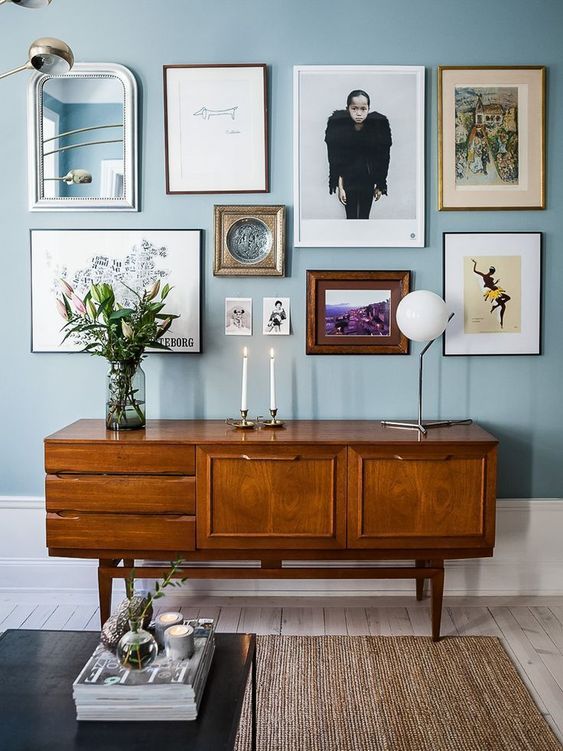 Combining vintage and new pieces in your home can introduce much needed character in a new build Command 3m Hooks are great! I had most of my art work up on these babies, and they rock! They don't destroy your walls and are super easy to move about. Winner! If I was giving advice now to myself a few years ago , I would say: Don't be too precious with those brilliant white walls. Enjoy it a little, go for colour. If you really do not think that your property will sell with that colour on the walls, you (or the new owners) can re-paint it when it comes to selling. Also buy once and better, I had some purchases that after 3 years of life, looked very worn, and that s fine, but there is no point in wasting your hard earned cash on something that isn't going to last you any significant period of time.  The view from my balcony I totally sobbed when I locked the front door of my flat for the very last time. The movers were beside themselves. And even though I love my current home, there is always a little special place in my heart for my first nest.
|
Categories
All
|


 RSS Feed

|
|

|

|
|

|
|
|
Award winning Interior Design & Styling - Cheshire, UK
Copyright © 2022