THE SPACEMAKER - INTERIORS BY PETER GRECH
  • Home
  • Portfolio
    • The Art House, Hale, Cheshire
    • Heath House, Alsager, Cheshire
    • Casacoppa, Liverpool
    • Worldly Loft, Ancoats, Manchester
    • Georgian Townhouse, Cheshire
    • Artistic Edwardians, Hale
  • About
  • Services
  • Contact

How to DIY panel your walls

7/8/2019

1 Comment

 
Our guest bedroom in our Victorian home had all its original features taken out prior to us moving in. So everything from the fireplace, the coving, picture rails, and even the skirting board were all gone! Most people who live in newer homes might say, well what's the big deal? The issue is that the room had lost all its character and didn't feel as connected to the rest of the house. Also it had some massive built in cupboards put into the alcoves on either side of the chimney breast put in. I have been very tempted to rip these out, but what would I achieve? So I tried thinking of alternative ways to use them within the room and allow me to re-introduce character. This is where the panelling idea came forward. I thought that if I could create a panelled wall all the way around the room, keeping the proportions similar to those used on the doors of the wardrobe, it would tie the space together.
bedroom showing dull grey and featureless built in cupboards
Before the transformation began the space was uninspiring and bleak.
panelling in a bistro in dark blue with tan leather upholstery
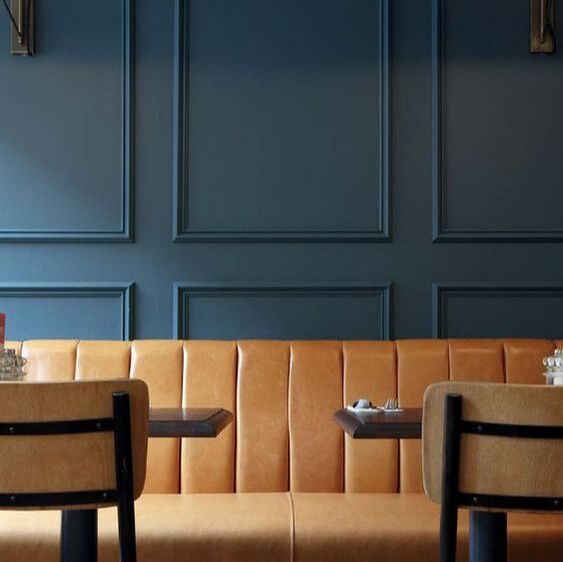
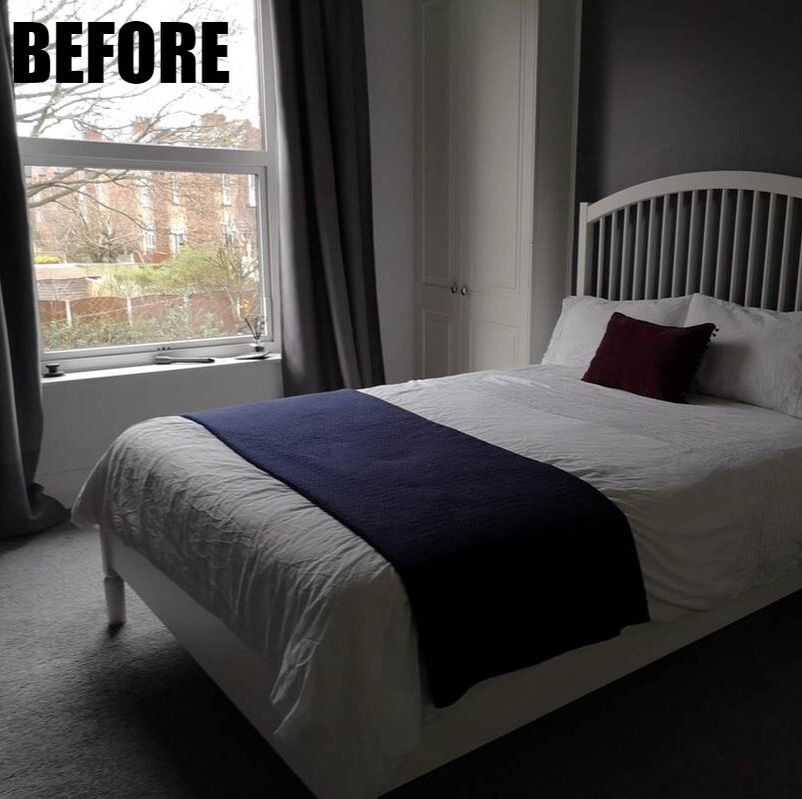
My inspiration photo by Warings Furniture
​So I got to work measuring out the walls and the spaces available to start my panelling adventure.  It is really important to note details such as where plugs and switches are, or where your radiator is fitted. If you  don't consider these you could end up with a proportion of your panel distorted by the radiator - whereas if you consider it, then you can design around it making it a more considered look.
​I used the panels on the wardrobe as my proportion points, keeping the same line all the way around the room created a wholistic look, as though those panels and wardrobes were designed at the same time. I used masking tape to mark where the panels would go, and this allowed me to play around with shapes and proportions . The tape also helped in  determining the thickness that my panel beading should be. It would be a lot easier to use a lazer level that can project a horizontal line along the whole room, but I  did it the old school way. Also as all the walls in this old house are wonky, the organic approach seemed to work. 
using tape when creating panelling
Using tape on the walls to give an outline to the panelling
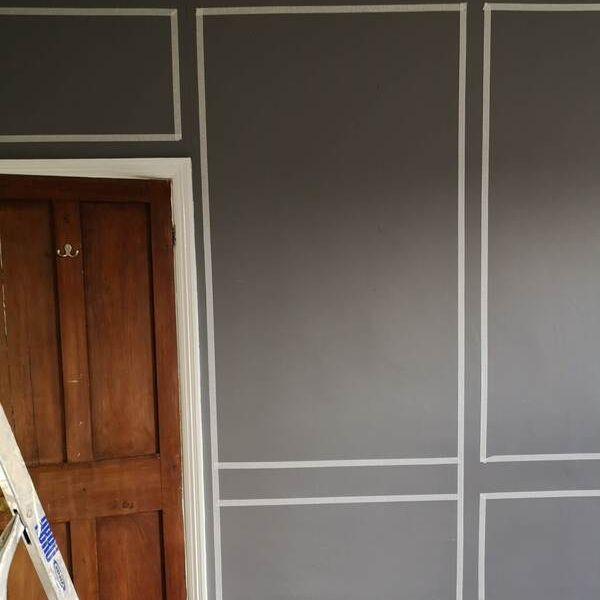
​After I was happy with the provisional panel layouts and how the room would look, I got to a second measurement. This ensured that I had the correct lengths and knew how many of each I needed. It might sound completely daft but make sure that you measure from fixed points, and measure from the outside of each panel. 
decorative pine moulding used as panelling beading
I used the thickness of the tape I used in the room to guide how wide the beading should be.
online order of decorative pine moulding
I did my order online as the store didn't have enough in stock.
mitred cut to create a bevelled edge on the beading
Give the cut ends a light sanding
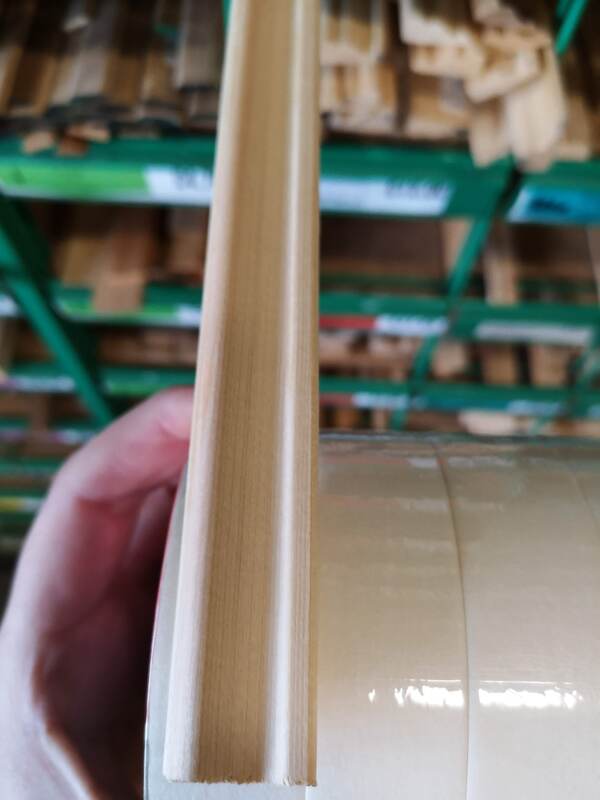
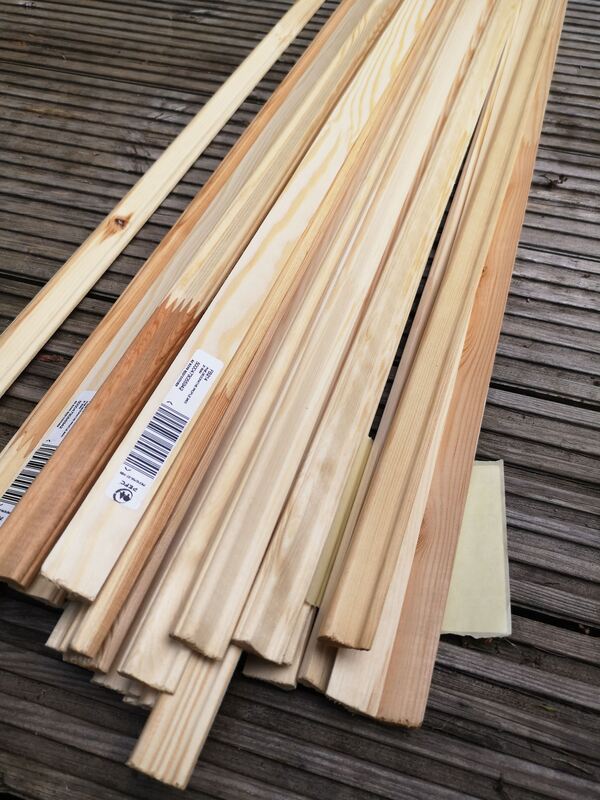
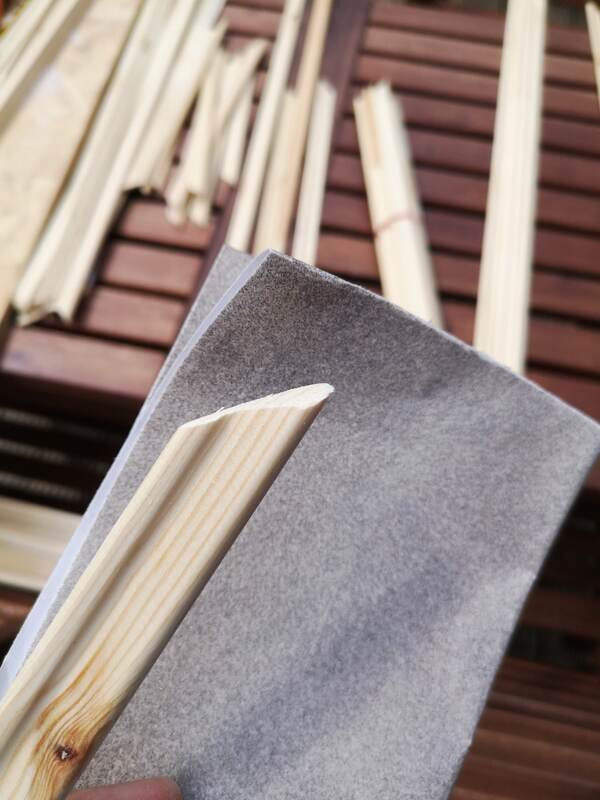
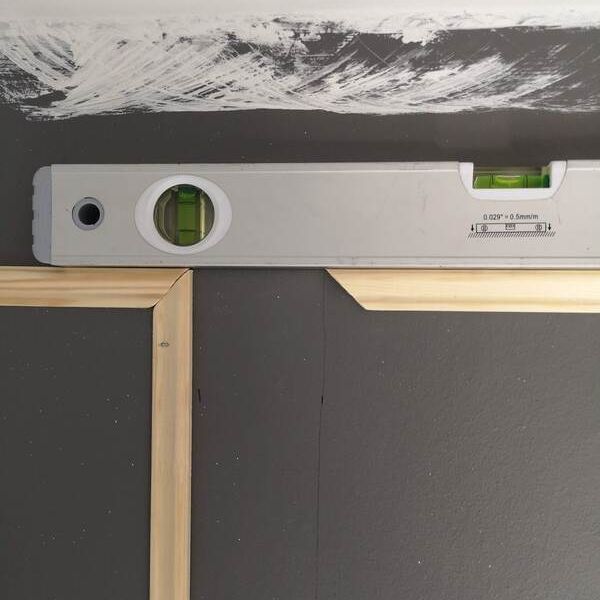
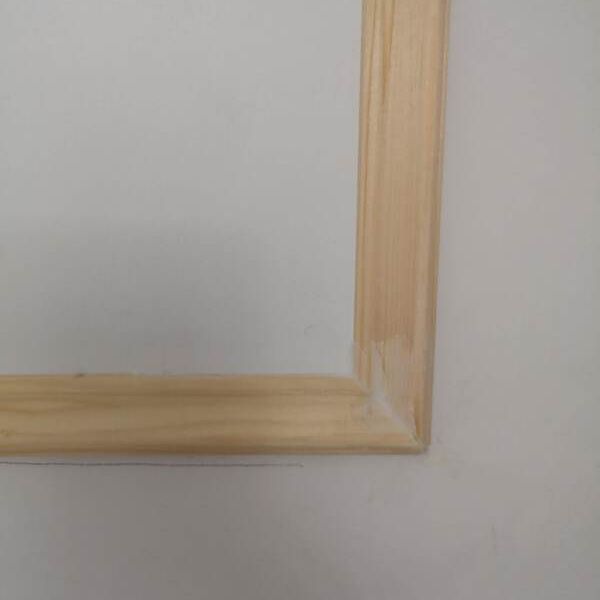
After that check your local timber yard or DIY store for the right type of beading to use. I ordered mine online as I knew I needed a lot. I did some maths to calculate which is the best way to cut the pieces out of the pre-cut lengths that are delivered. Lets say a piece of beading is 2m long, you might be able to get two lengths of 80cm and one of 40cm out of it if you cut it carefully. Its unfortunately not as easy as adding up all the lengths you need, as you will want to have as few joints as possible, and therefore keeping them to the corners as much as you can. Lightly sand the cut edges and I would also write in pencil on the back of them the lengths that they are, its so easy to get confused and spend ages re-measuring.
Once you have all your pieces, you will need a ladder, a level, and a nail gun (trust me you don't want to be doing this with a simple nail and hammer, it will take you years). Some people advocate gluing them to the wall first before nailing them in. I skipped this bit and opted to just nail them in as I had a pneumatic nail gun which packed a punch.
I would start from the smallest panel and do two adjoining sides first, this makes it easier to triangulate the remaining two sides so you get a whole square/rectangle.
using a spirit level to get panelling levelled
Get everything in line with a spirit level
​Work your way around the area you want to panel. Making sure you keep things level and neat. Once all the pieces are up, congratulate yourself on finishing one of the biggest puzzles of your life! I would suggest using caulk to fill in any gaps, holes or uneven joins. A light sand, and you are ready to paint.
caulking the joints between the panelling
Caulk the joints to keep it smooth, and then sand it down lightly.
panelling in a bedroom
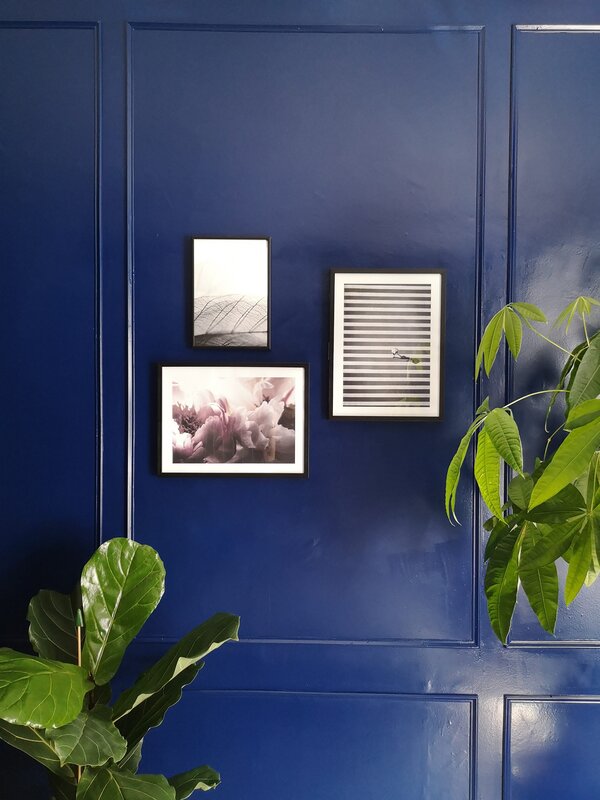
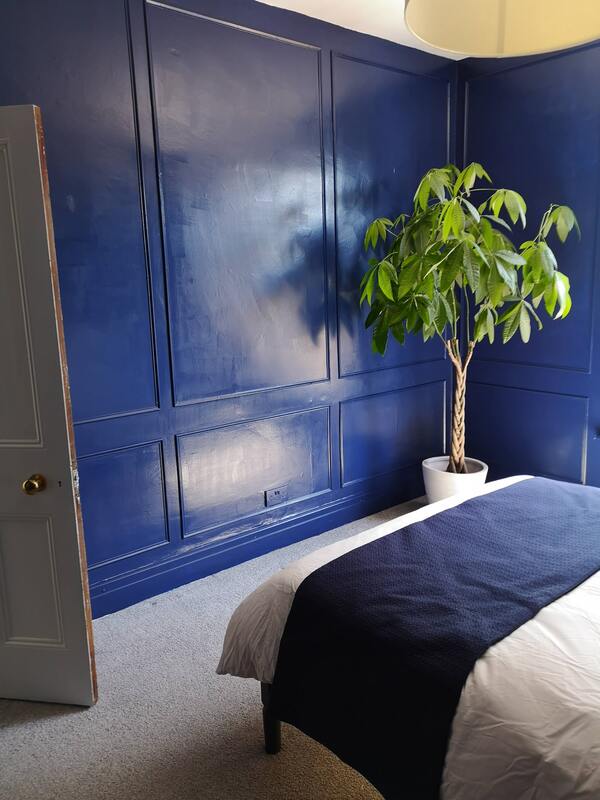
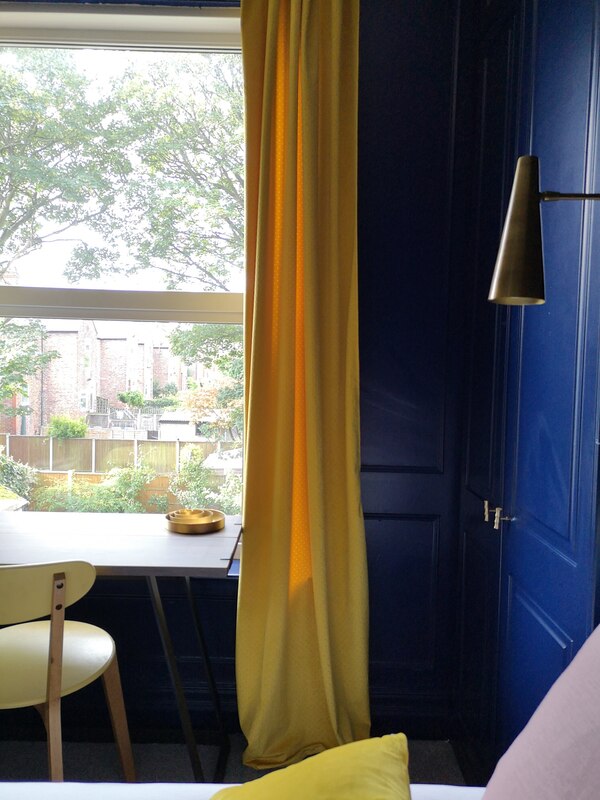
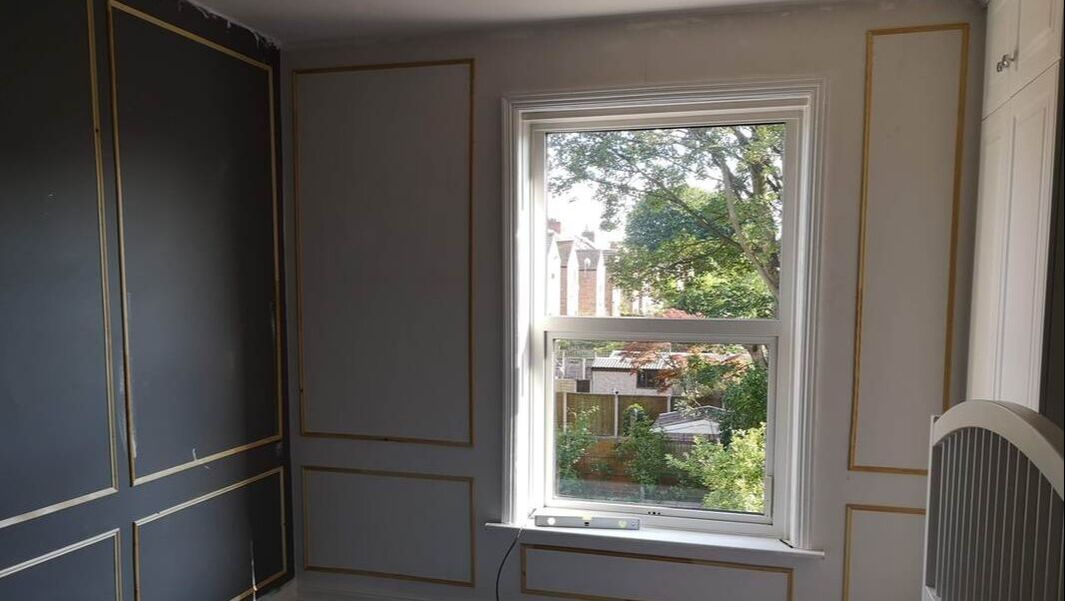
After all the caulking is done and the panels up you can start seeing how the room is going to be transformed.
dark blue panelling in an eggshell finish
dark blue panelling contrasting against the green
dark blue bedroom with yellow accessories in velvet
1 Comment
mold removal colorado springs link
7/9/2024 11:19:33 am

Works on outdoor furniture. It removed the mold from my patio furniture effortlessly.

Reply


Leave a Reply.

    Categories

    All
    Bathroom
    Bedroom
    Budget Friendly Interiors
    Colourful Interiors
    Colour Series
    Design
    Dining Room
    Hallway
    High Street Sourcing
    Home Office
    Interior Design Inspiration
    Interior Design Rules
    Interior Makeover
    Interiors Interview
    Interior Styling Tips
    Lighting
    Living Room
    Outdoor Living
    Seasonal Decor

    RSS Feed

Picture

    Join our mailing list

Subscribe

Home

Portfolio

About and press

Services

Contact

Articles

Styling Guides
Design Tips
Room Inspiration
Terms of use
Privacy
Picture
Picture
Picture
Peter Grech in Altrincham, Cheshire, UK on Houzz
Picture
Peter Grech in Altrincham, Cheshire, UK on Houzz
Award winning Interior Design  & Styling -  Cheshire, UK
Copyright © 2025
  • Home
  • Portfolio
    • The Art House, Hale, Cheshire
    • Heath House, Alsager, Cheshire
    • Casacoppa, Liverpool
    • Worldly Loft, Ancoats, Manchester
    • Georgian Townhouse, Cheshire
    • Artistic Edwardians, Hale
  • About
  • Services
  • Contact